Setting Up SQL Server Databases In Docker
Do you ever have a requirement where you want to spin up a database quickly on a test enviroment but don’t want to install a fully fledged version of SQL Server Development Edition?
You could use Docker to setup a simple development enviroment, and in this post I am going to show you how.
Assumptions
This post is going to assume that you have docker installed on your machine already, if you don’t, the docker docs has you covered
Let’s Begin
Open up a command prompt or powershell session (I am using Windows Terminal with Powershell) once that session is open, paste in the following command.
This is going to pull down the SQL Server 2019 docker image to your machine.
docker pull mcr.microsoft.com/mssql/server:2019-latest
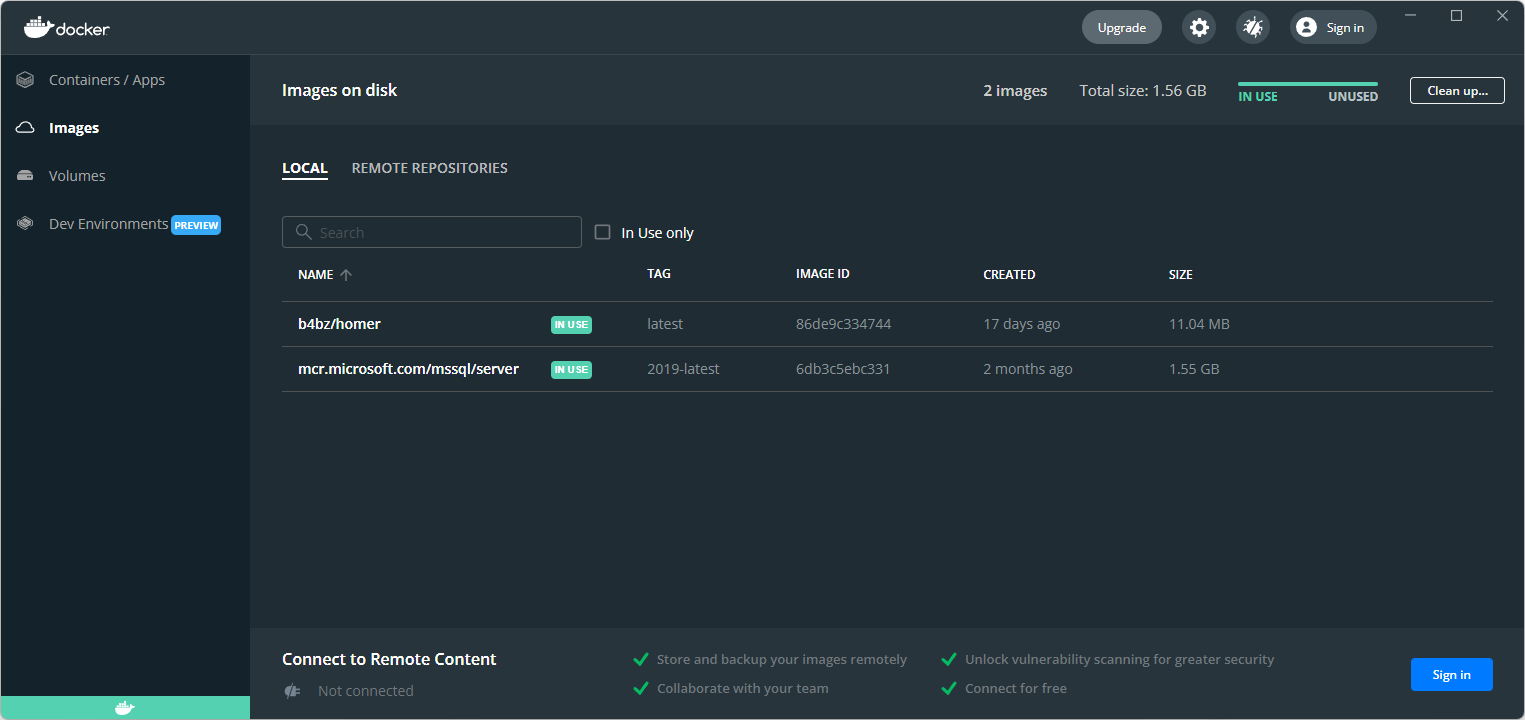
Once the image is down, you can view it from docker desktop, this shows that the image is currently in use.
When you are ready you can then run it, to do that we need to pass in some arguments, these are specified below
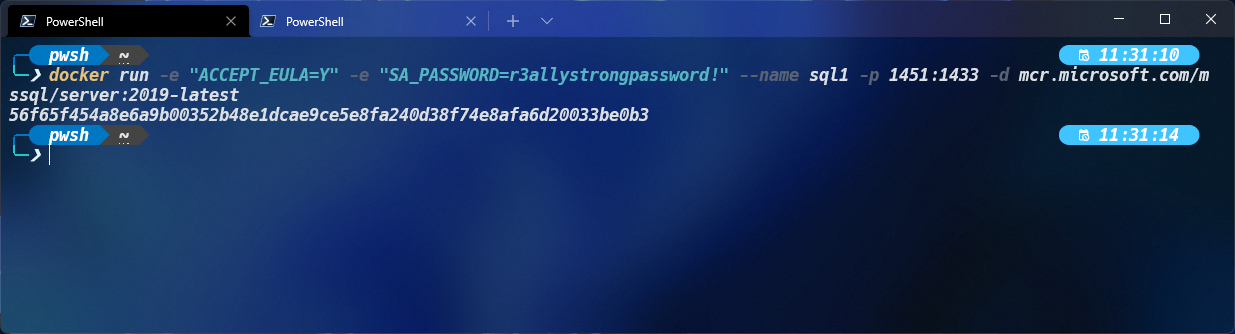
docker run -e "ACCEPT_EULA=Y" -e "SA_PASSWORD=r3allystrongpassword!" --name sql1 -p 1451:1433 -d mcr.microsoft.com/mssql/server:2019-latest
But what do they all mean?
- docker run - This is the docker command, this tells docker what action we want to perform, in this case we want to run the container
- -e “ACCEPT_EULA=Y” - This is passing in the argument to automatically accept the EULA in SQL Server
- -e “SA_PASSWORD=r3allystrongpassword!” - We are then setting the password of the SA account, be sure to set this to something of your choosing, I have just set it to something random for the purpose of this post.
- –name sql1 - This is the name of the docker container
- -p 1451:1433 - This is the port mappings the left number is the exposed port on your local machine and the right number is the port you are mapping to within docker.
- -d mcr.microsoft.com/mssql/server:2019-latest - This is telling docker, what image we want to use to create the container.
You should then get an output, which looks something like this
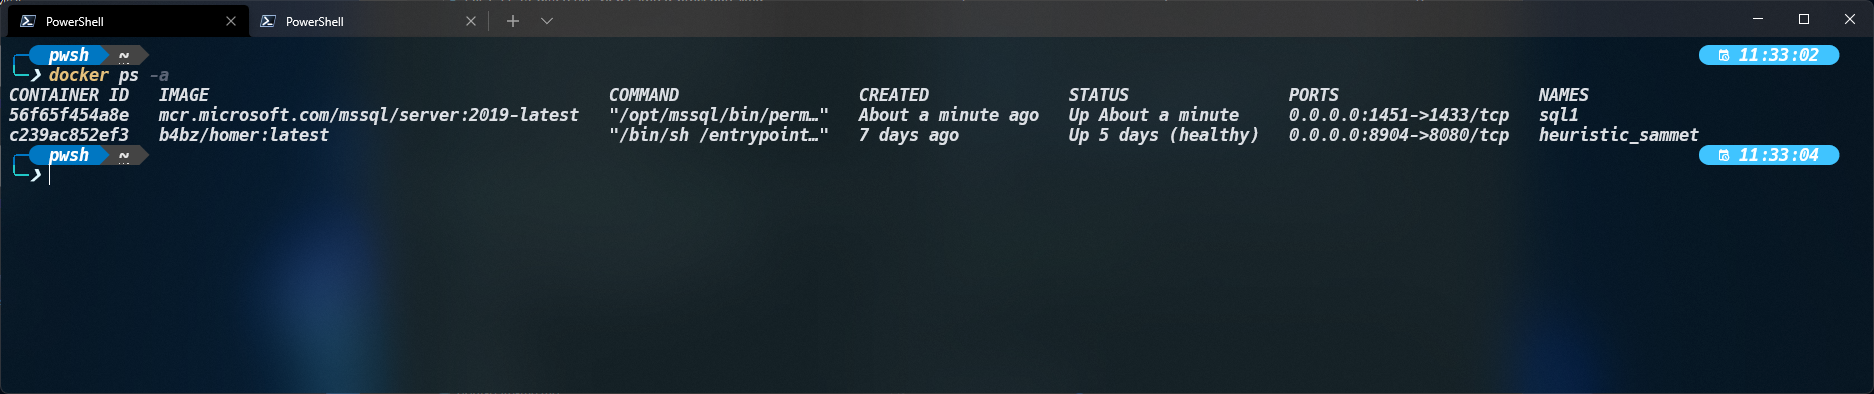
Running this docker command will show you which containers are created and their current state, as you can see SQL1 is showing as running
docker ps -a
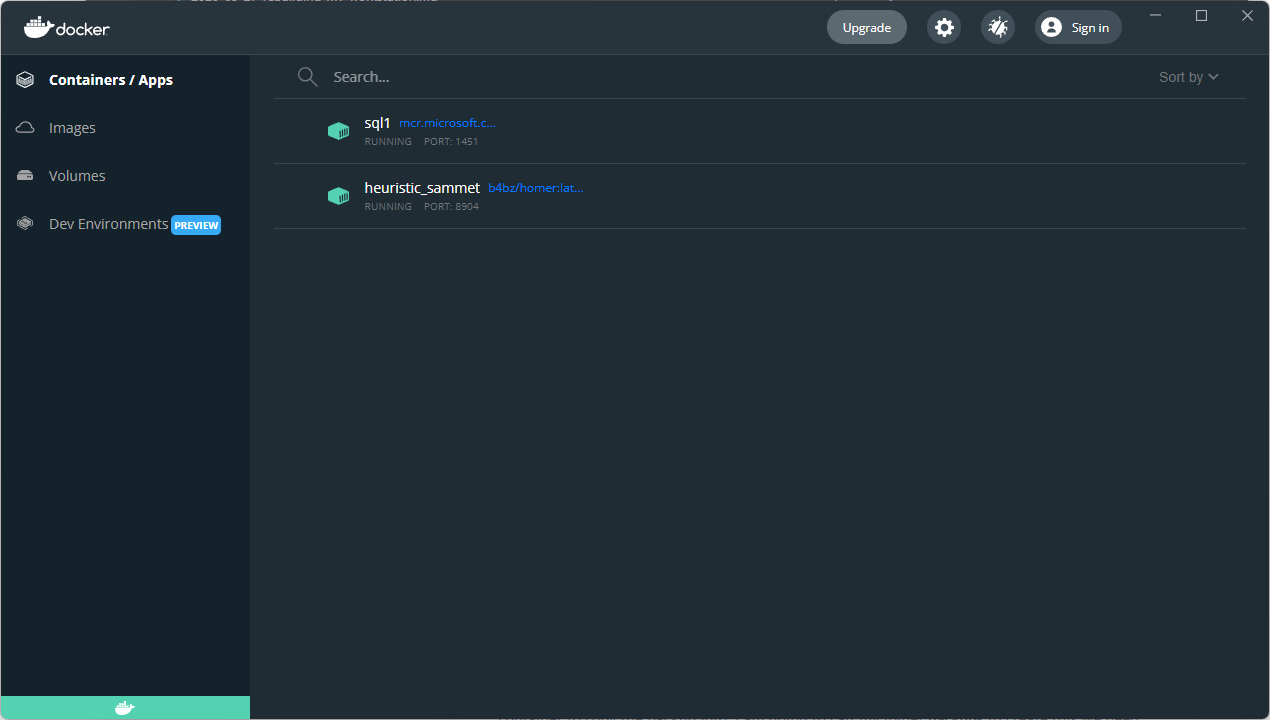
You can also check this from the docker desktop application, our created container will be shown under the Containers/Apps Section
Now that we have the SQL container setup, we need to get a database into it, to do that we first need to put the .bak file of the database we want to restore in a location we can access on our local machine. I have mine on the root of my D:\
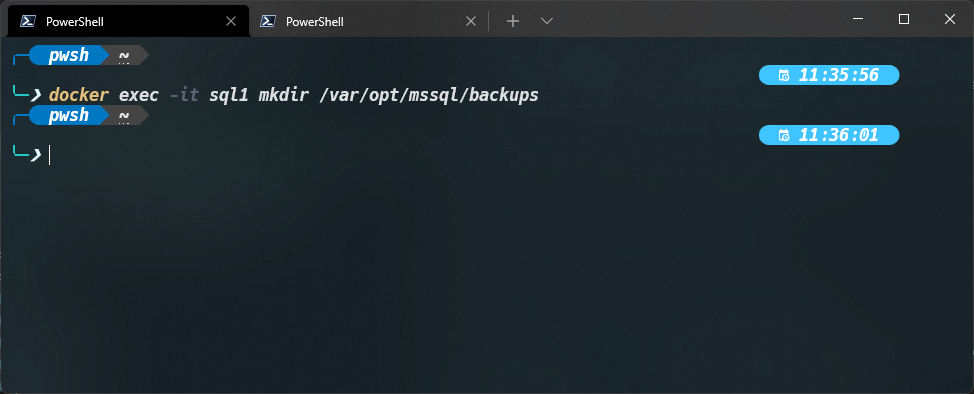
Once the backup file is in a location we can access, we need to create a directory in the docker container to copy the backup into, I am going to call my folder backups to create this we need to run the following docker command.
docker exec -it sql1 mkdir /var/opt/mssql/backups
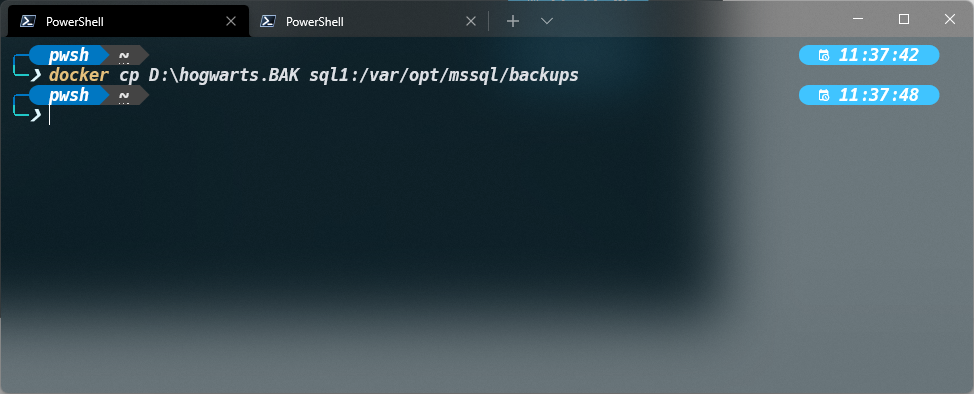
Now we need to copy our backup file into the folder we created earlier.
docker cp D:\hogwarts.BAK sql1:/var/opt/mssql/backups
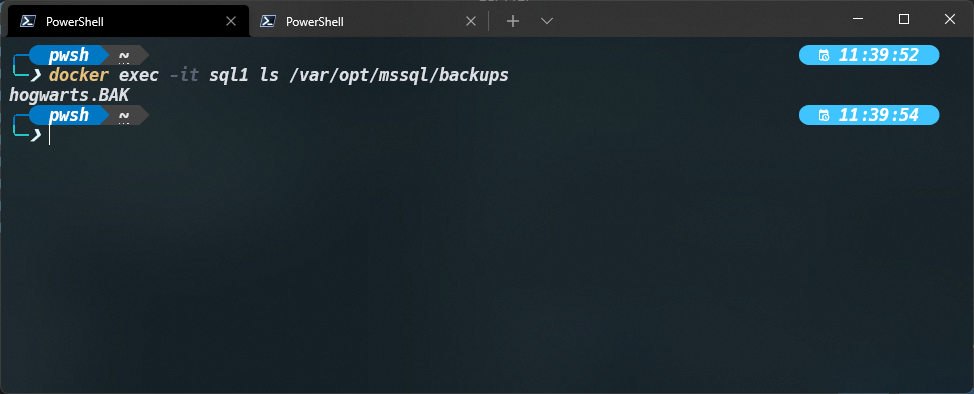
To check that the file was sucessfully copied run this command which will list out the contents of the backups folder in the container
docker exec -it sql1 ls /var/opt/mssql/backups
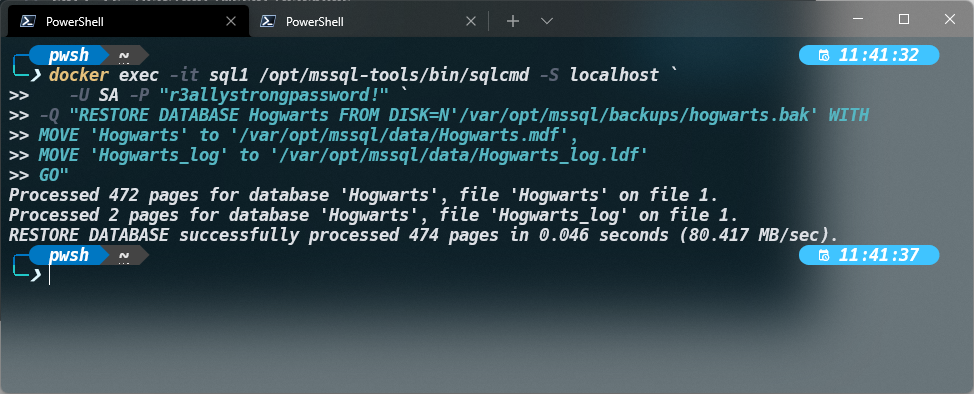
Now we need to restore the file, you can do this two ways, firstly using the command below or secondly using SSMS if you run the command below this will restore the database for you
docker exec -it sql1 /opt/mssql-tools/bin/sqlcmd -S localhost `
   	-U SA -P "r3allystrongpassword!" `
	-Q "RESTORE DATABASE Hogwarts FROM DISK=N'/var/opt/mssql/backups/hogwarts.bak' WITH
	MOVE 'Hogwarts' to '/var/opt/mssql/data/Hogwarts.mdf',
	MOVE 'Hogwarts_log' to '/var/opt/mssql/data/Hogwarts_log.ldf'
	GO"
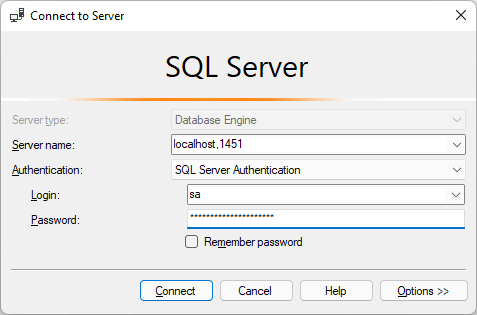
Open up SSMS and connect to the instance, the server name will be as below if you left everything as it was in the docker run section of this post.
localhost,1451
You should then see your database listed under the databases folder inside SSMS
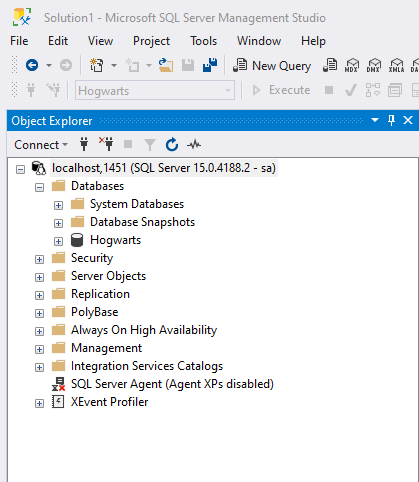
There are some limitations to this, such as no SQL Agent but for script development, demonstrations or spinning up and dropping instances for various other purposes this is perfect.