Build A SQL Server Availability Group Lab In Hyper-V
Introduction
In this post we are going to look at creating a Test Lab on our local machine, if like me you don’t have a home lab where you can install lots of different servers, creating a home lab on your workstation could be the next best thing.
This post covers all the steps except installing SQL Server itself.
Contents
- Contents
- My Workstation Specifications
- Create Virtual Machine In Hyper-V
- Install Windows Server
- Configuring Windows
- Installing Domain Controller Role
- Creating a user account in active directory
- Joining server to the domain
- Install Microsoft SQL Server
- Installing Failover Feature
- Creating a failover cluster
- Configuring quorum and file share witness
- Configuring SQL Server Service For Availabiltiy Group
- Creating SQL Server Availability Group
My Workstation Specifications
Here are the specifications of my workstation which I will be using to Install my lab onto.
- Ryzen 5 6400
- 16GB Ram
- 1TB Western Digital Hard Drive
- Windows 11 Enterprise
The full specifications can be found here
Create Virtual Machine In Hyper-V
First, we need to create a new virtual machine in Hyper-V. You can use any Hypervisor of your choosing, if you decide to not use Hyper-V skip this step but make a note of the settings we are using.
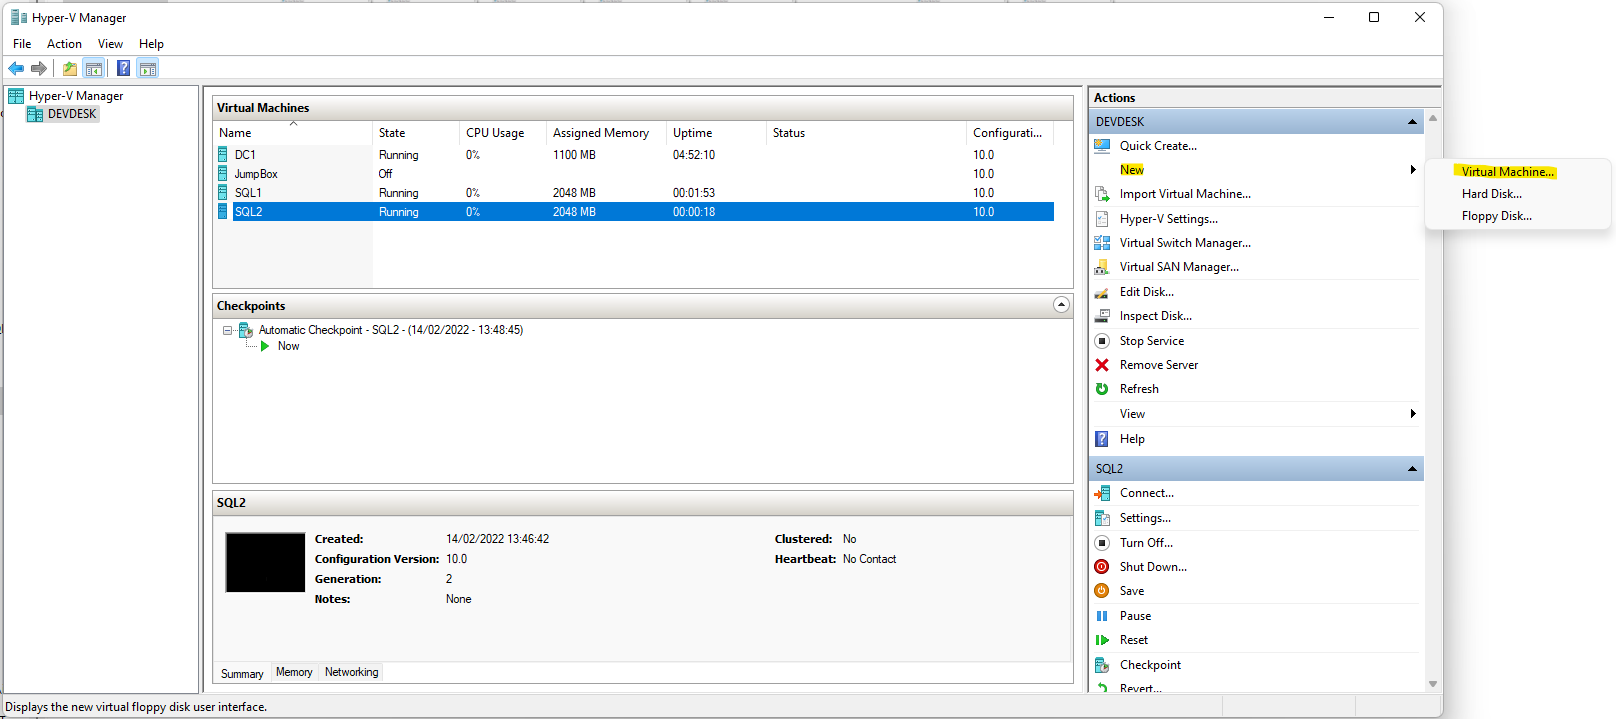
- Load the Hyper-V application
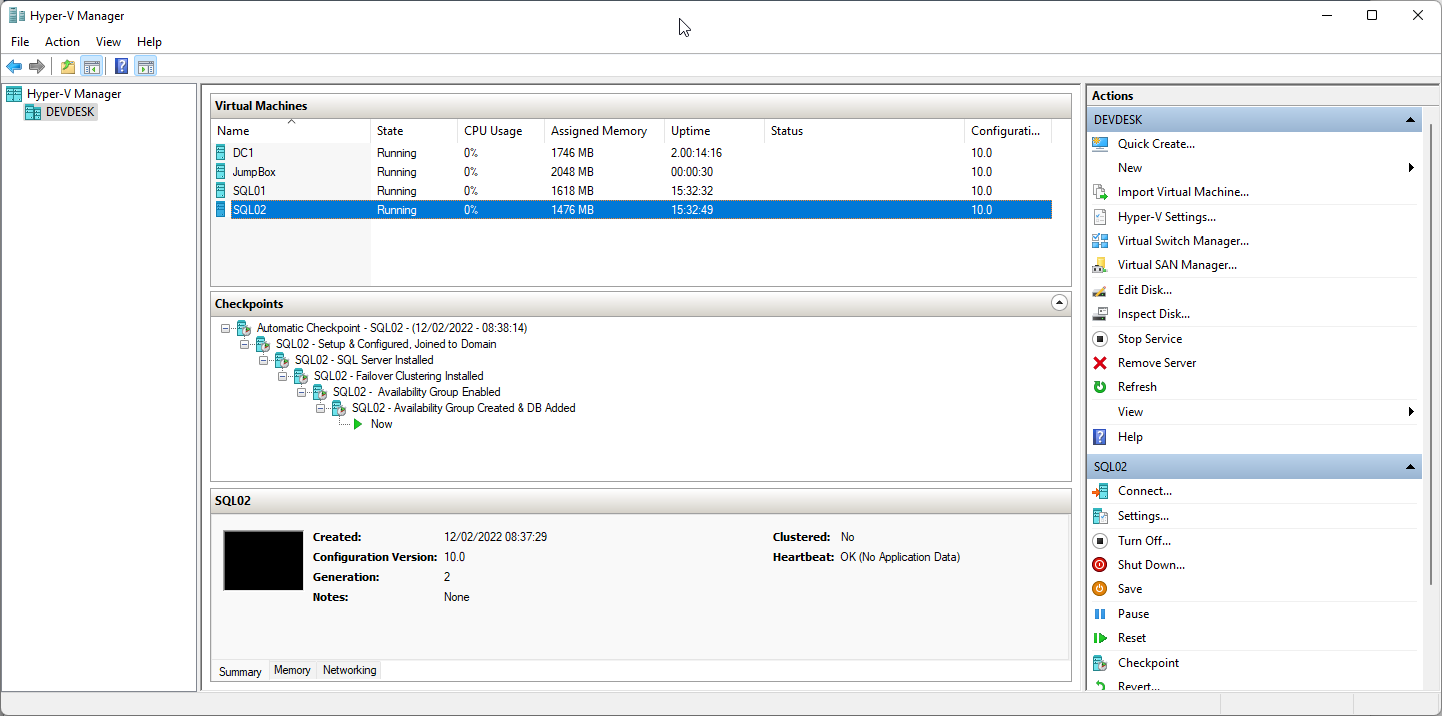
- From the Actions menu, select New then choose Virtual Machine
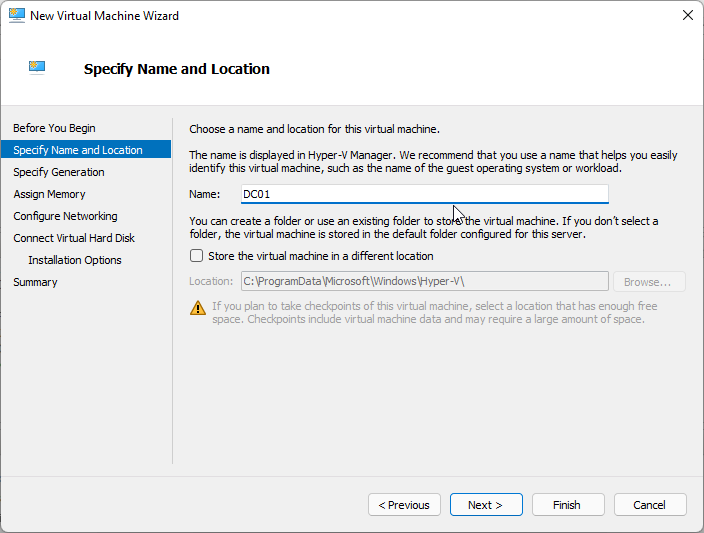
- Enter the name of the Virtual machine, I started with the Domain Controller which I called DC01
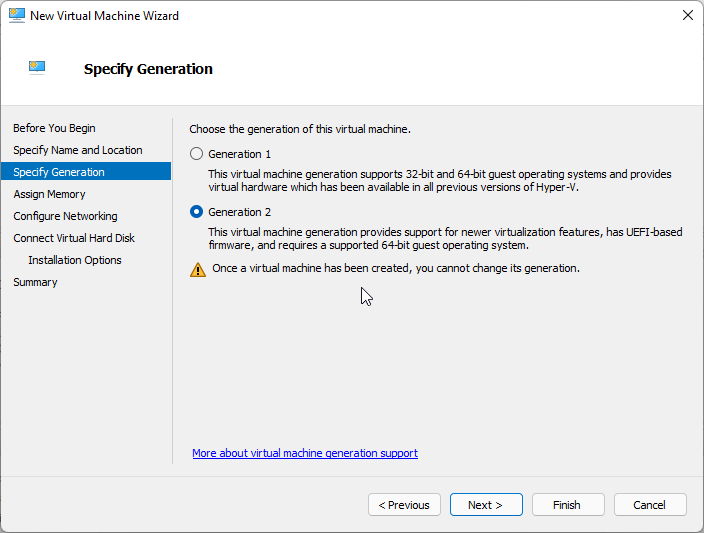
- Specify the generation you wish to use, I selected Generation 2 because it supports UEFI and newer virtualization features.
Click Next
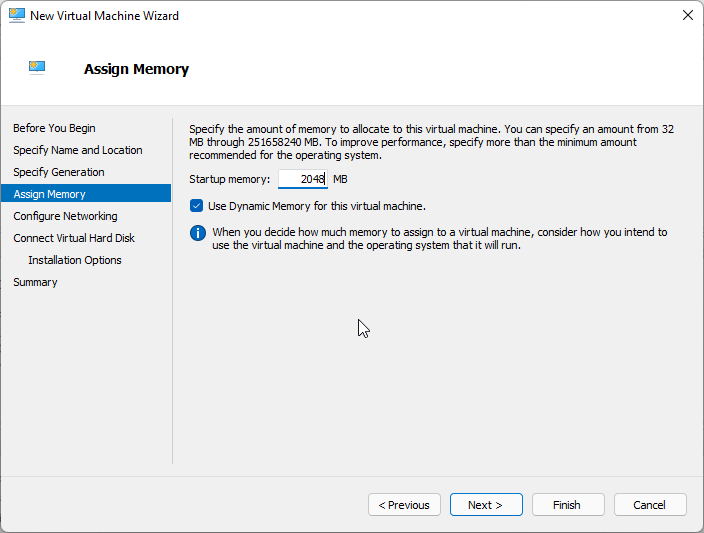
- For the memory, I gave each machine 2GB of RAM and left the Dynamic Memory allocation option checked.
Click Next
- Connect the Hyper-V Default Switch to the virtual machine
Click Next

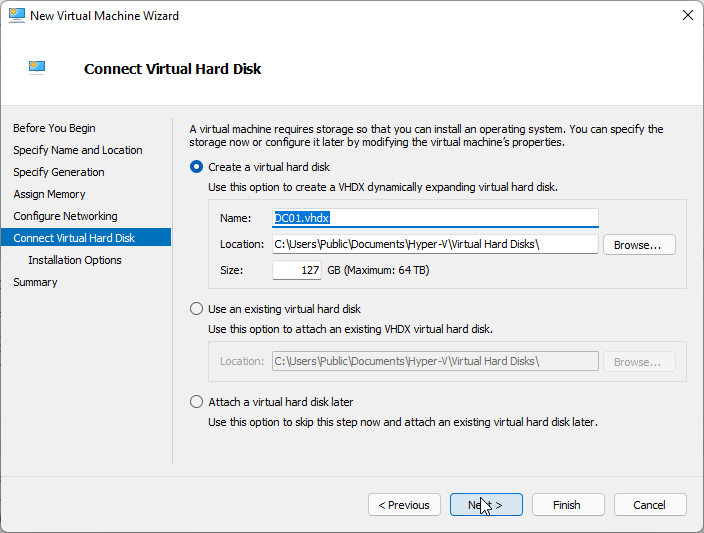
- Leave the virtual hard disk options at default
Click Next
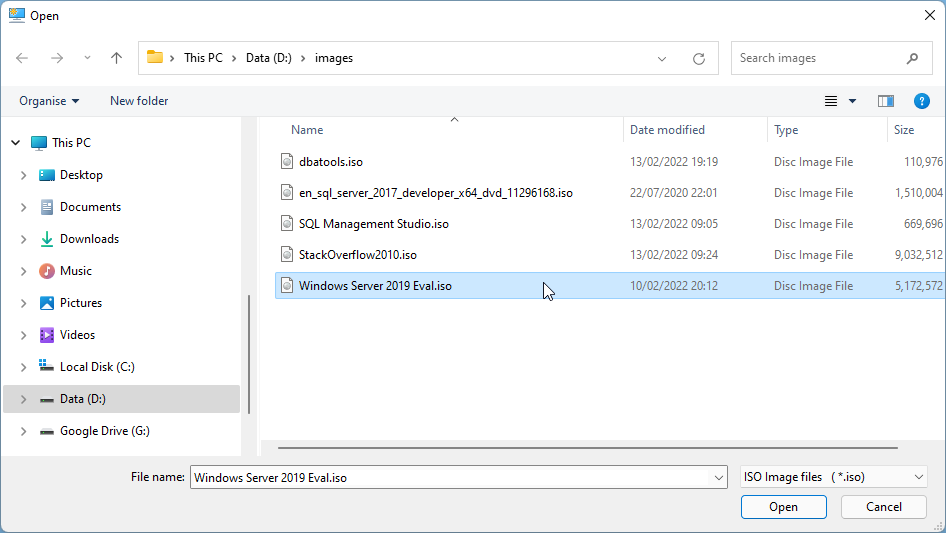
- From the installation options, select “Install an operating system from a bootable image file” and specify where the ISO for Windows Server is saved.
Click Next
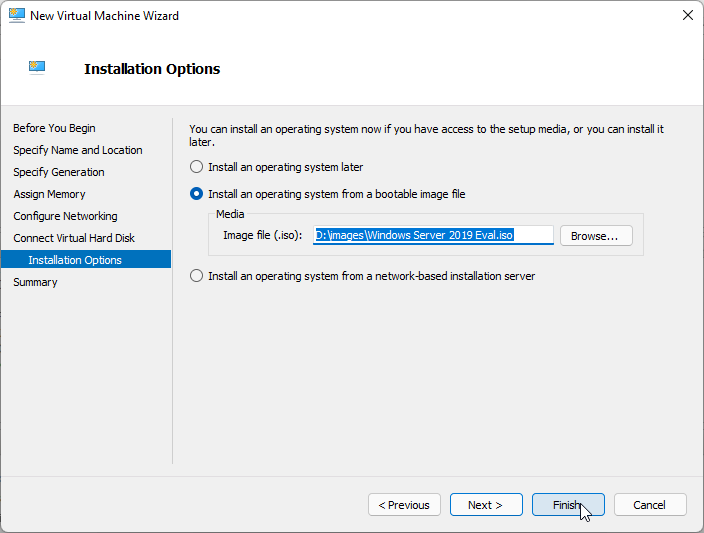
- Once you are happy click Finish and Hyper-V will create the virtual machine
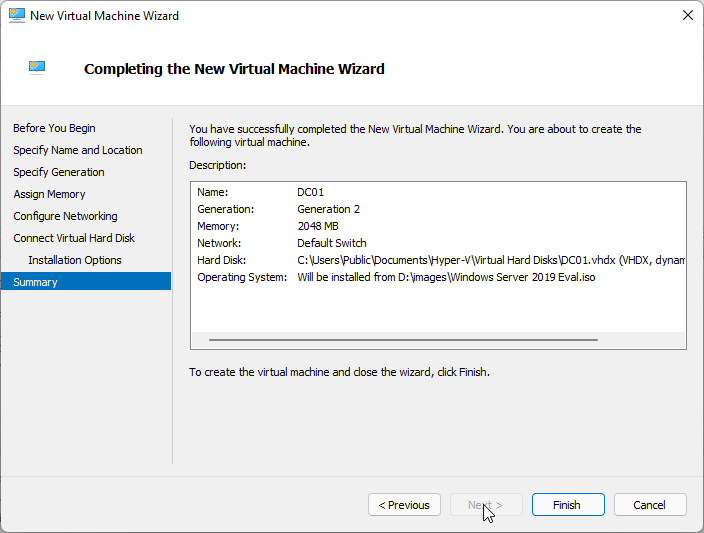
You will need to repeat these steps twice more so that in the end you have the following
| Server Role | Server Name | IP Address |
|---|---|---|
| Domain Controller | DC01 | 10.10.10.1 |
| SQL Server | SQL01 | 10.10.10.100 |
| SQL Server | SQL02 | 10.10.10.101 |
Install Windows Server
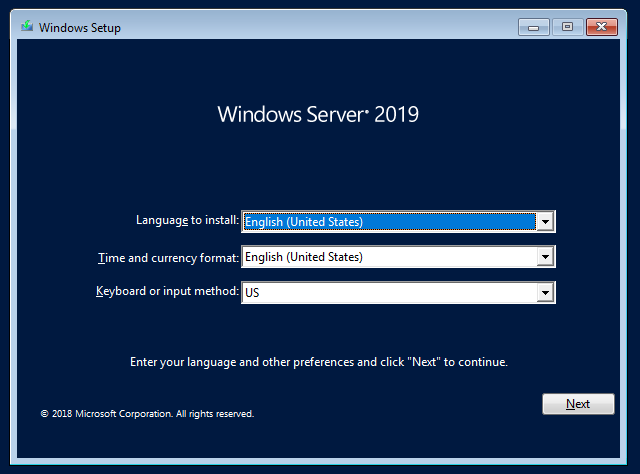
Windows Server is the base operating system that we are going to use for all three of the servers required for this lab, I am using Windows Server 2019 Standard Edition Eval.
- Select your language, Click Next
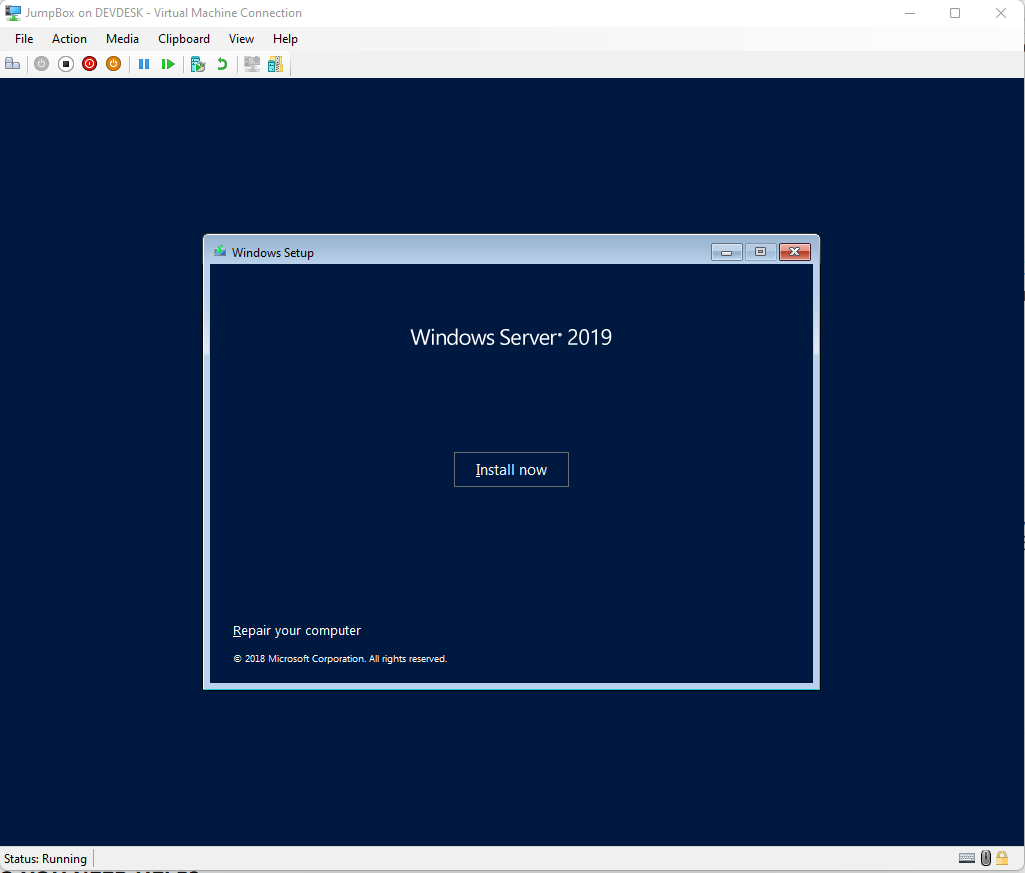
- Click the install now button
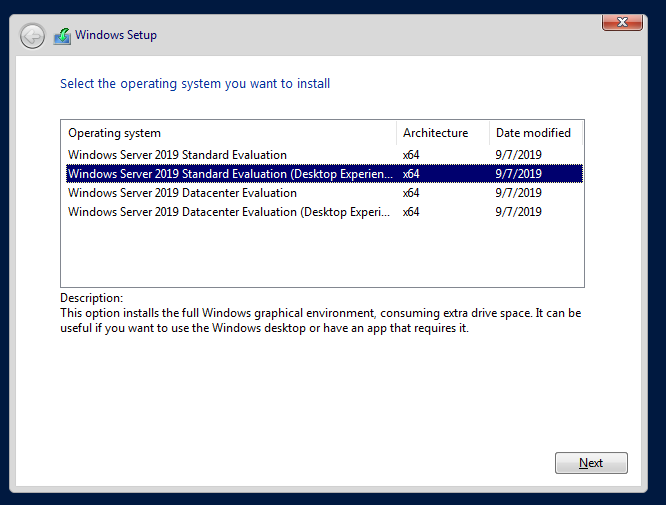
- Select which version you want, go with the Desktop Experience if you want the UI.
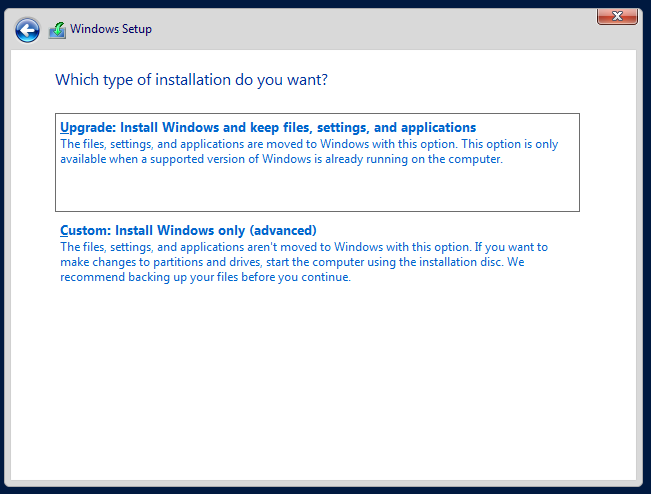
- Click Custom: Install Windows Only
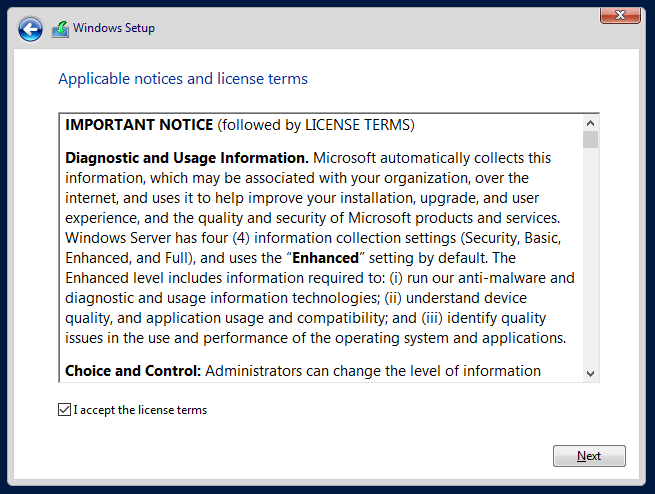
- Agree to the license, Click Next
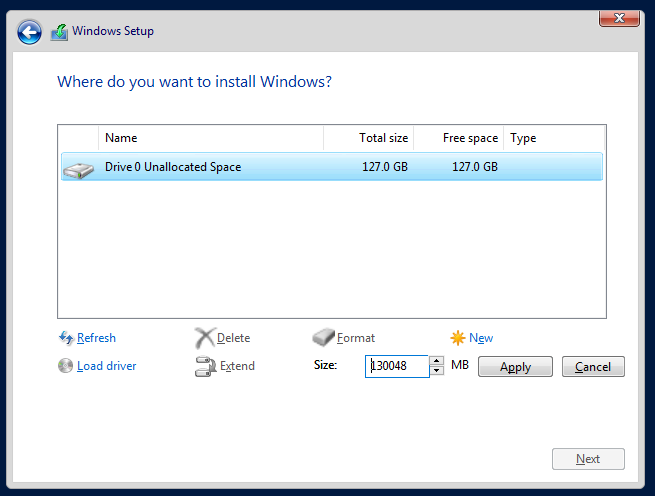
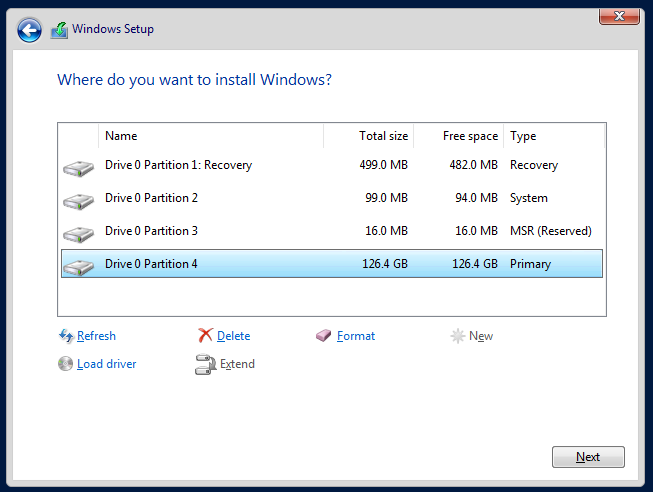
- Click the new button from the window that appears

- We are going to use all the disk, so leave the size as it is and click Apply.
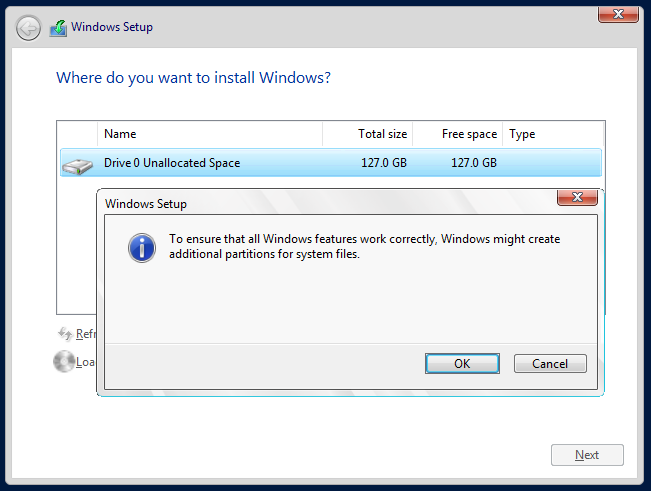
- You will get an information window informing you that that installer will create more partition for system files, you can click ok to this.
- The location where you want the operating system to install will automatically be selected, click Next.
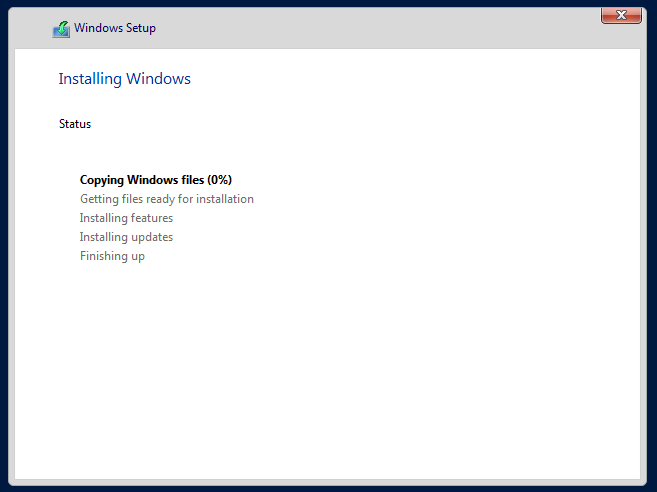
- Windows will now begin installing
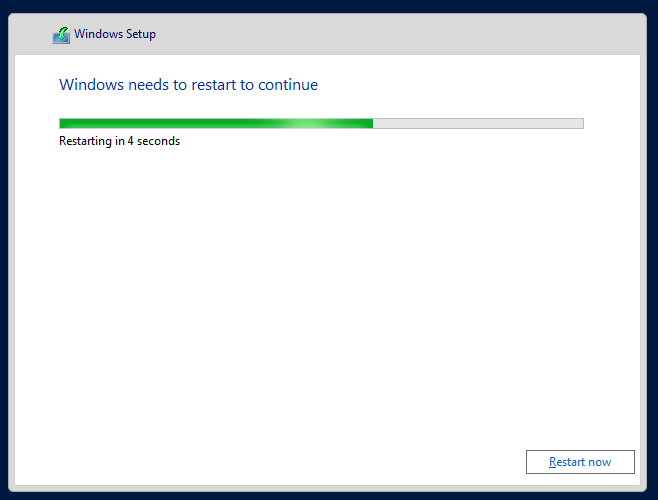
- Once it is complete the virtual machine will restart, if you don’t want to wait, Click Restart Now
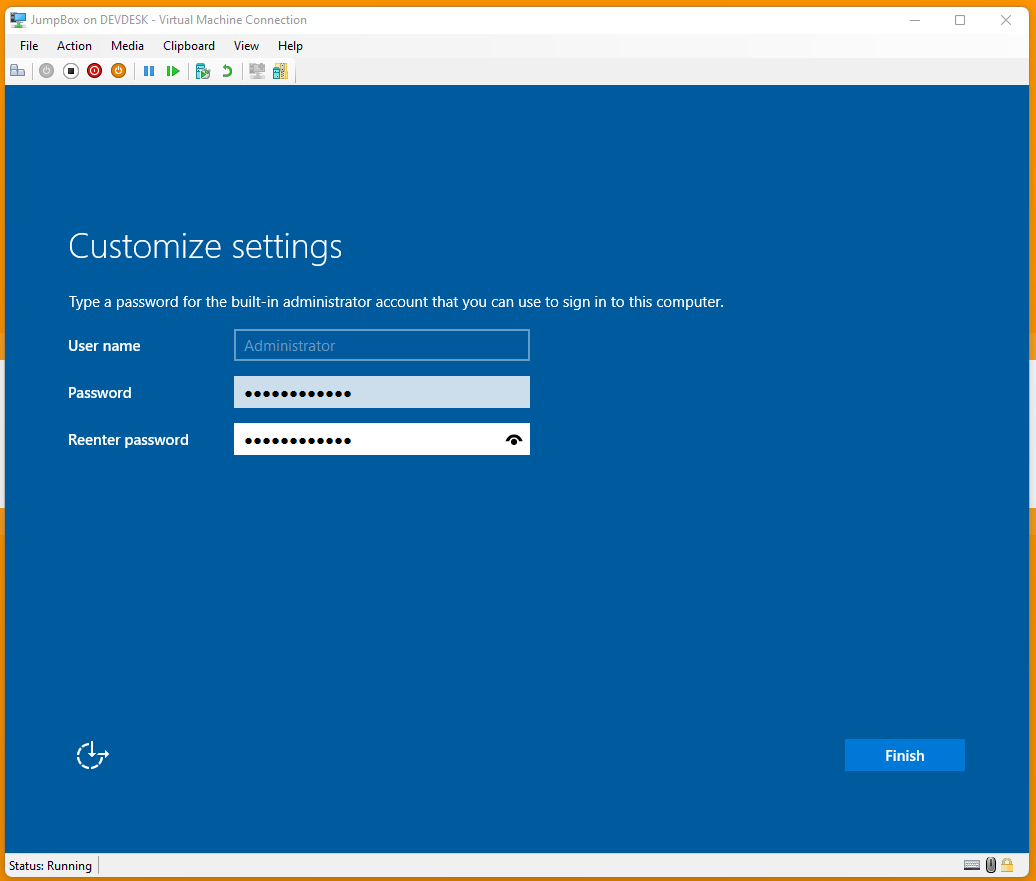
- You will then be asked to provide a password for the local admin account, you will need this in future steps so record it somewhere. Click Finish
- Windows will then finish things up.

- You should now be in a position to login and Windows successfully be installed.
Configuring Windows
Now that Windows is installed we can begin to configure it.
It is worth noting that this is a test lab, with no access to the internet, some of the practices here are not to be used in a production environment but are acceptable for our lab.
With that out of the way, lets begin.
Rename the server
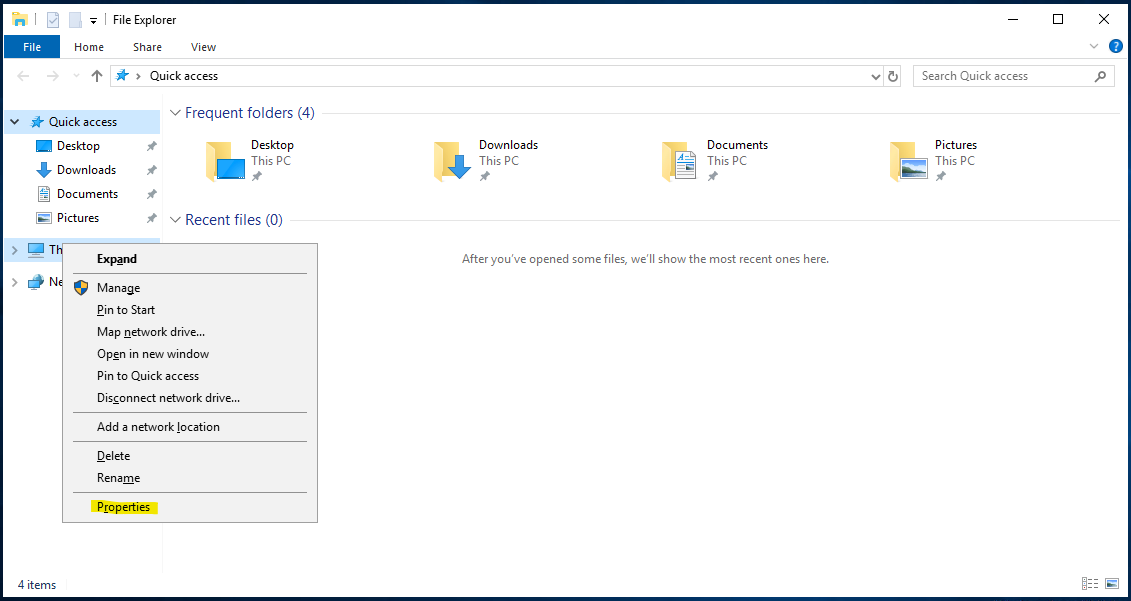
- Open up file explorer. you can use the Windows & E key combo to get to this.

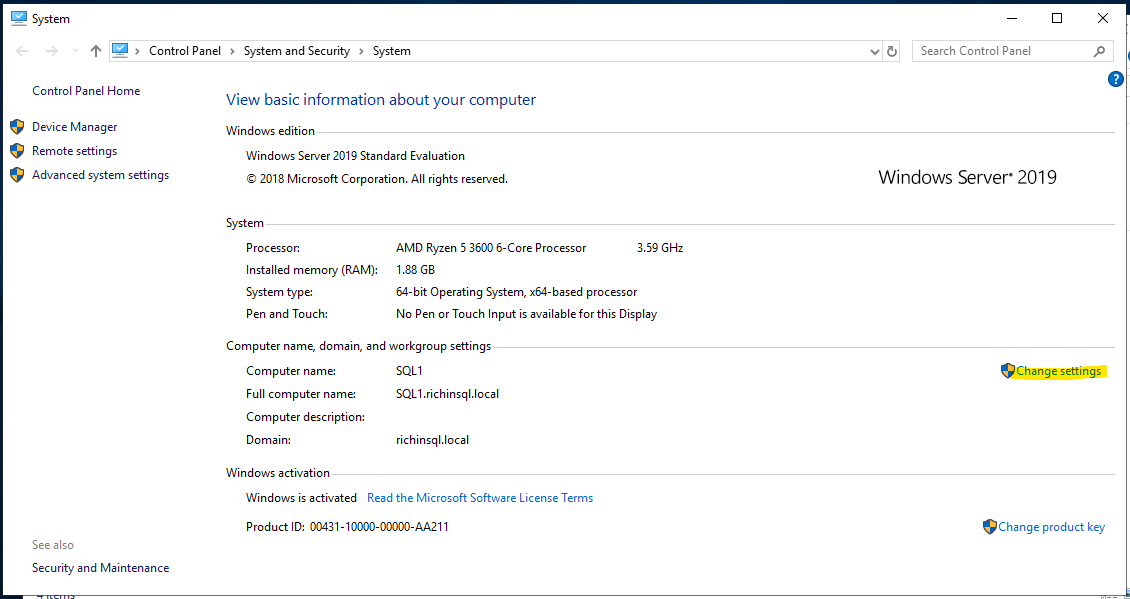
- From here right click on This PC and select properties.

- From the window that appears, click Change Settings under the sub-heading Computer name, domain and workgroup settings
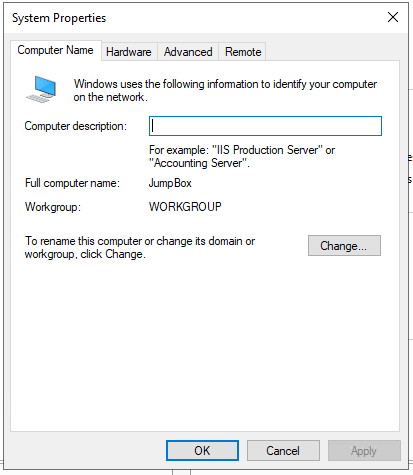
- In the system properties window click the Change button
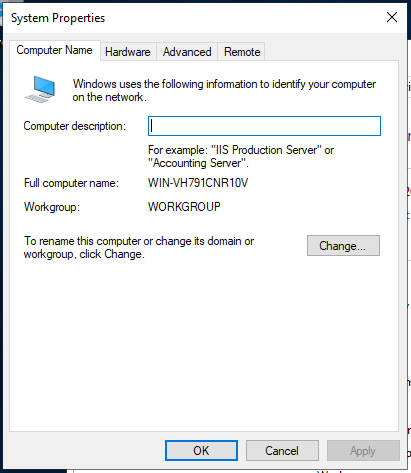
- Enter a name for the server, DC01 for the Domain Controller, SQL01 for the first SQL Server and SQL02 for the second SQL Server. But you can choose whatever you want as long as you know what they all mean.
Click OK.

- You will get a warning that the computer needs to be restarted, Click OK.
- When prompted click the Restart Now button
That concludes the configuration of the Server, repeat this for each of the servers you build.
If you are using Hyper-V it is also a good idea to checkpoint your servers after each step in case something goes wrong.
Change network settings
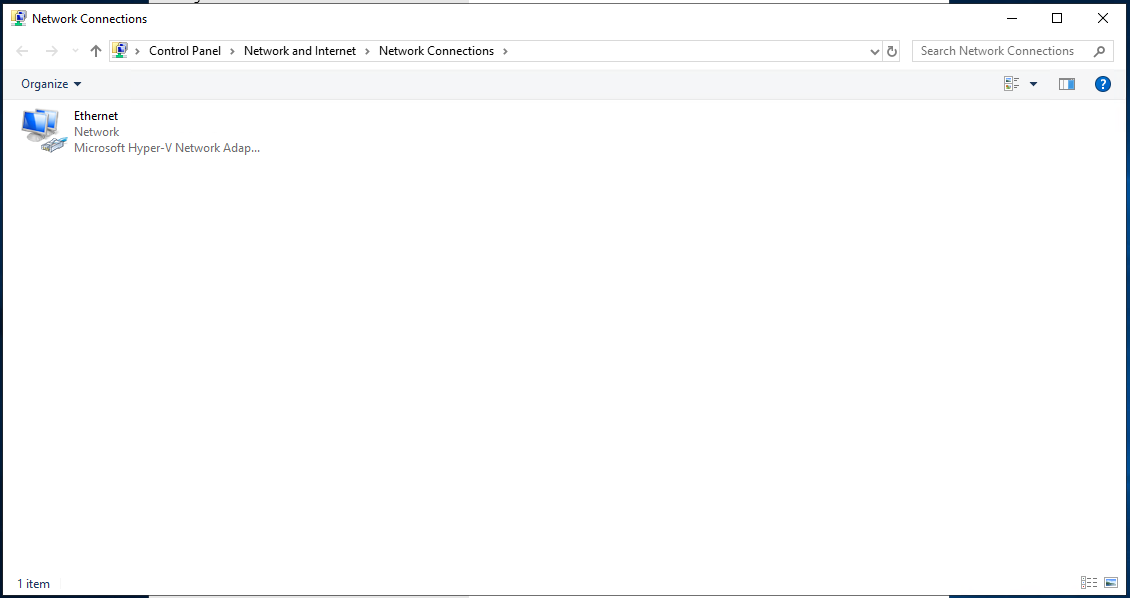
- Open the settings application from the start menu and go to Network & Internet, Select Ethernet from the left menu then select Change Adapter Options.

- Right click on the adapter and select properties.
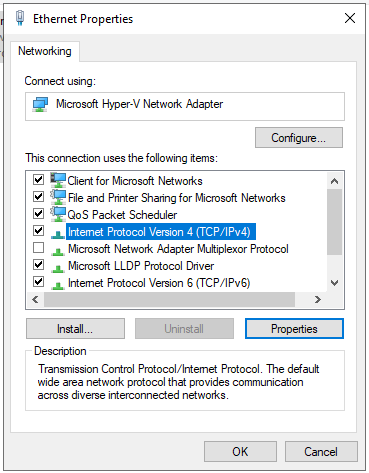
- Select the IPv4 Internet Protocol and click Properties
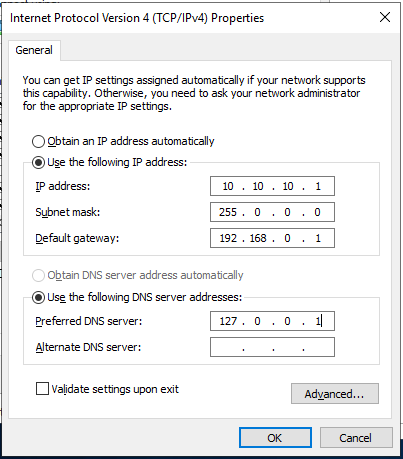
- Enter the IP address information as the screenshot shows for the Domain Controller. Configuration for the other two servers is below.
SQL Server 1
- IP Address: 10.10.10.100
- Gateway: 10.10.10.1
- Preferred DNS: 10.10.10.1
SQL Server 2
- IP Address: 10.10.10.101
- Gateway: 10.10.10.1
- Preferred DNS: 10.10.10.1
Change firewall settings
- From the Server Manager, click Tools and select Windows Defender with Advanced Security

- Click Windows Defender Firewall Properties
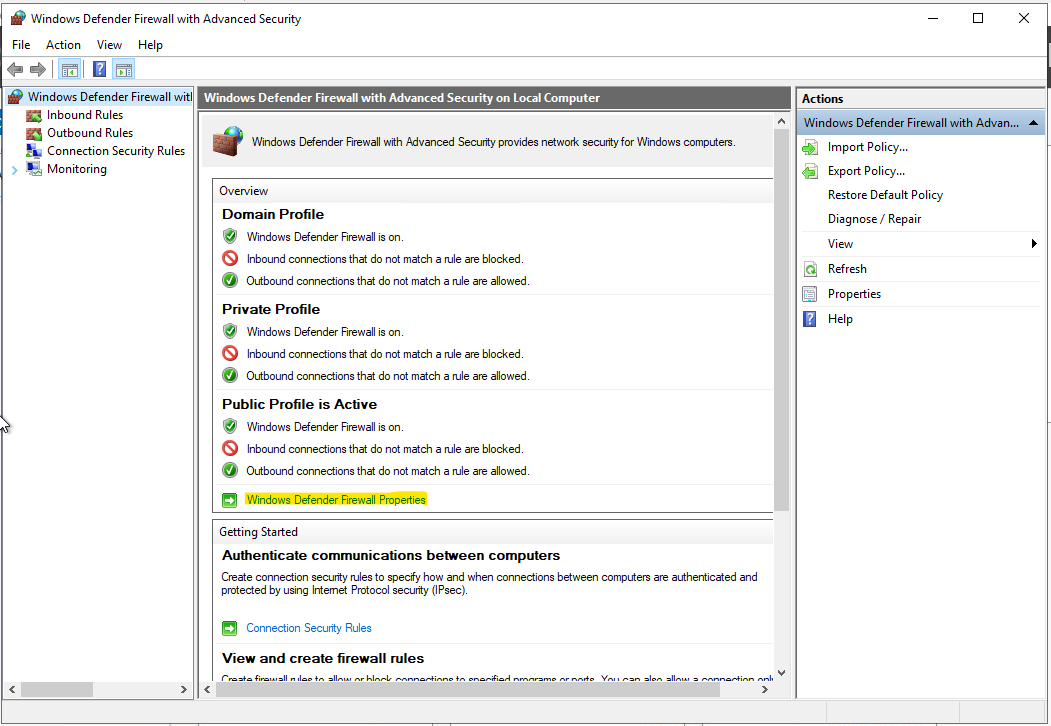
- In each of the tabs set the Firewall state to Off and Click Apply
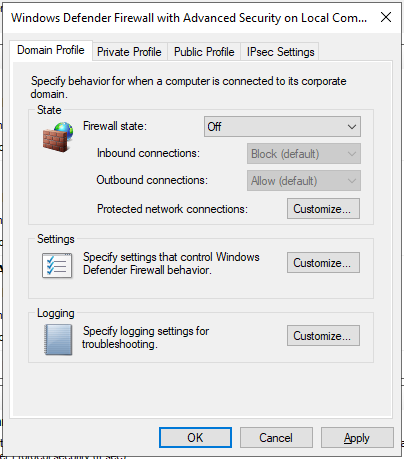
- The firewall should now be disabled for all network types
REMINDER: Don’t do this in production
Installing Domain Controller Role
The first thing we need to do is install the domain controller role on DC01, this is so that we can join the other servers to it and create a small, networked domain inside the lab.
This doesn’t need to be done on the SQL Servers.
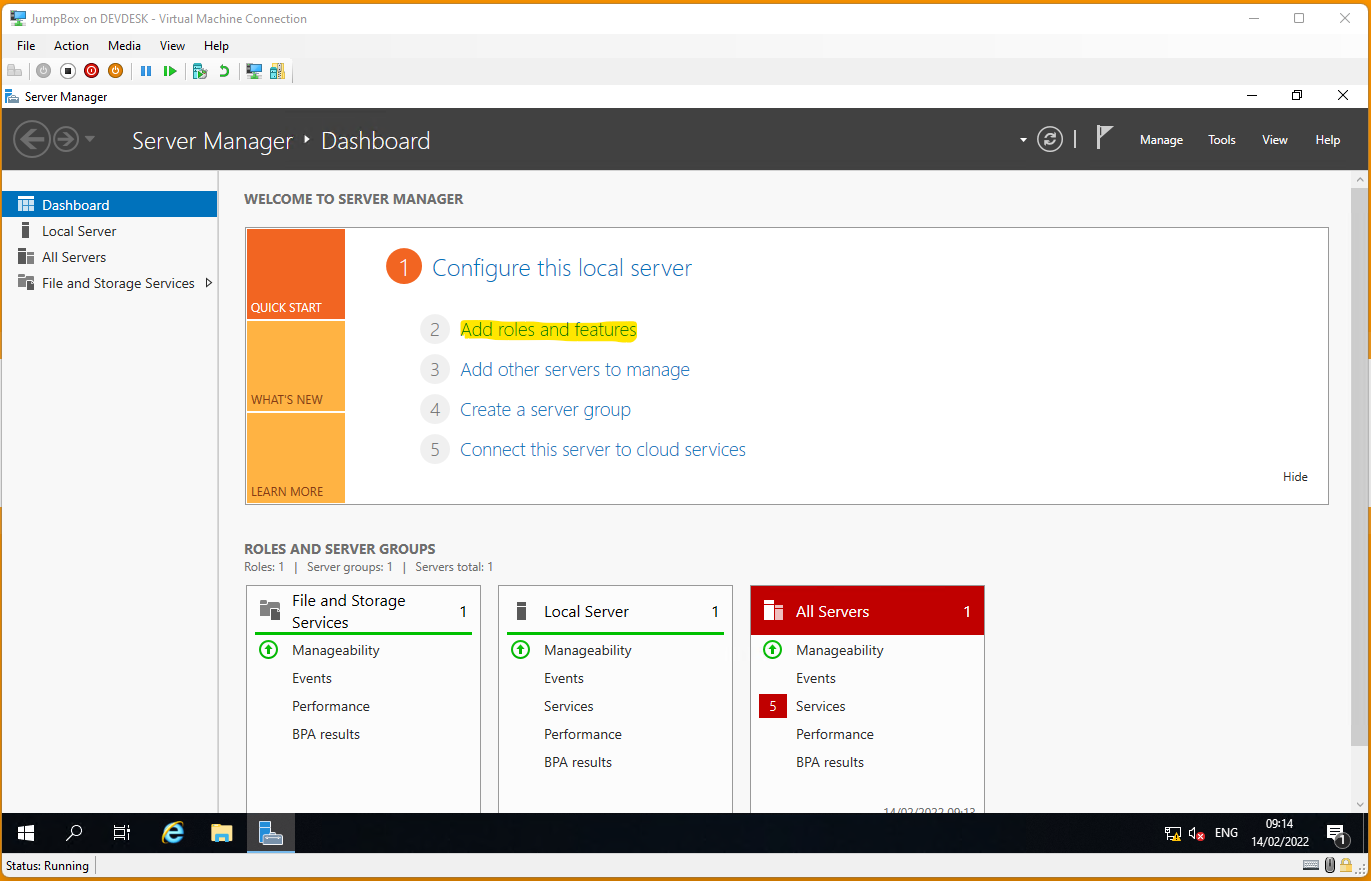
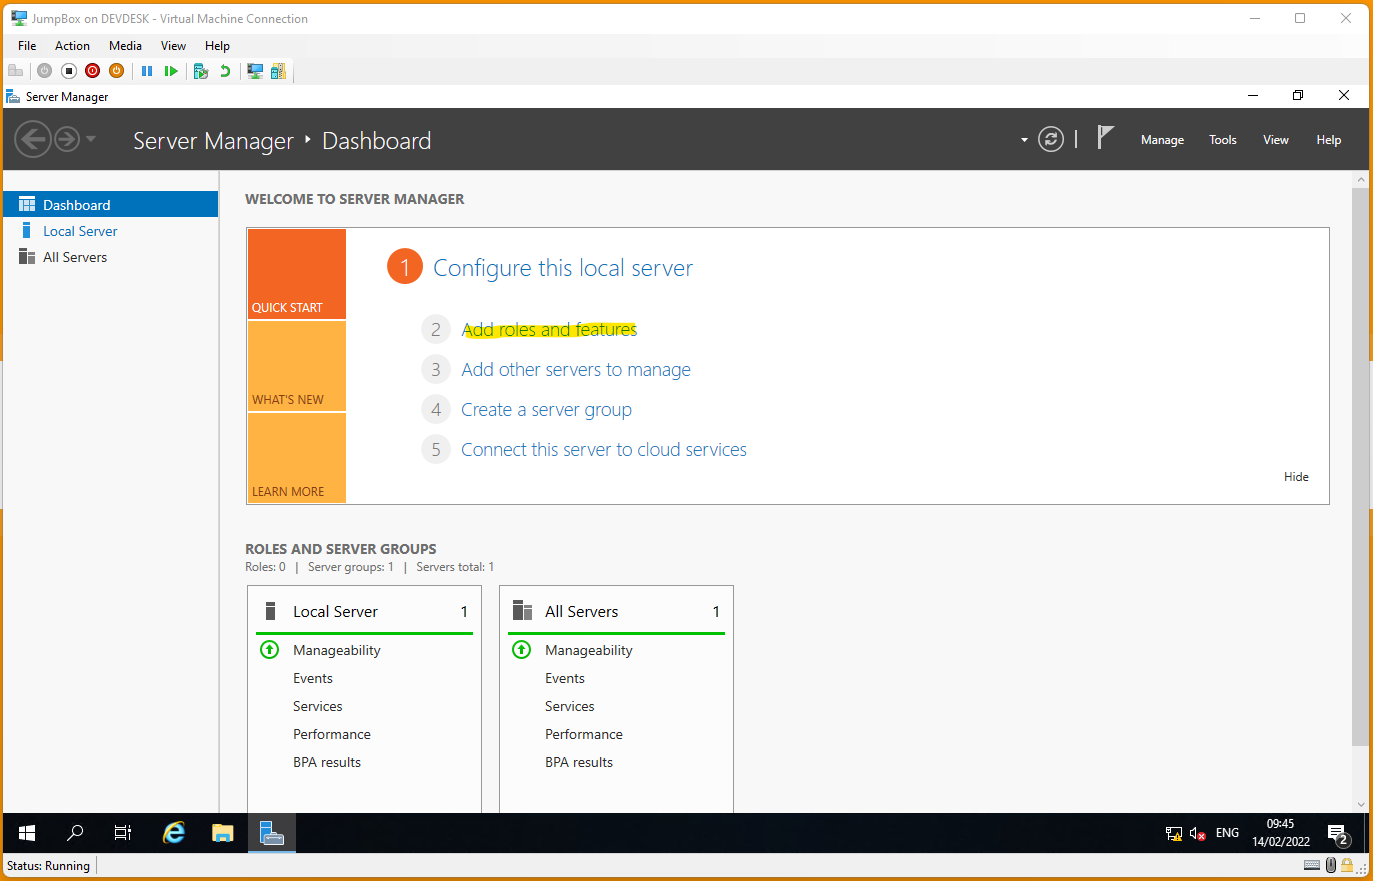
- From the Server Manager click Add roles and features
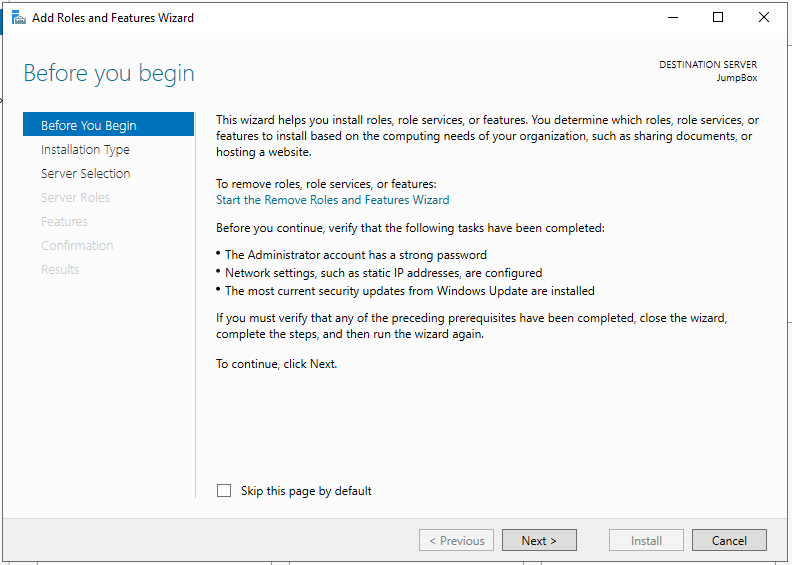
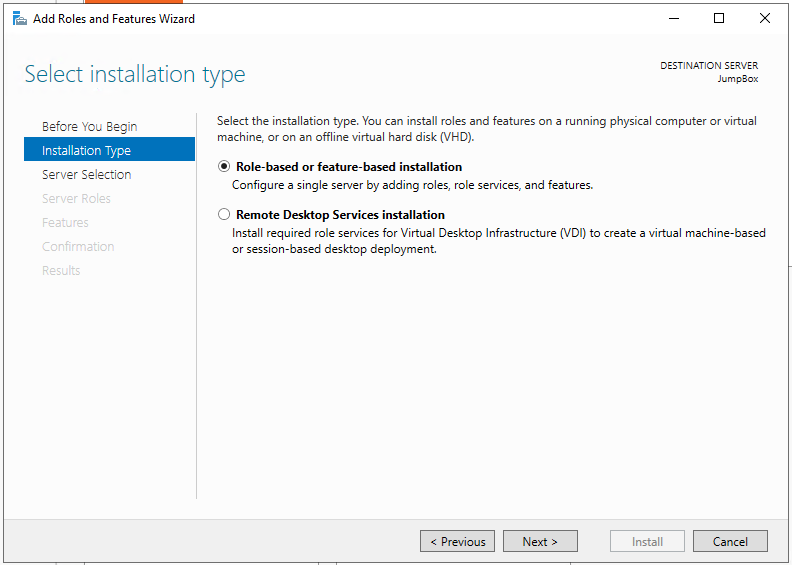
- Click next on the Before you begin screen
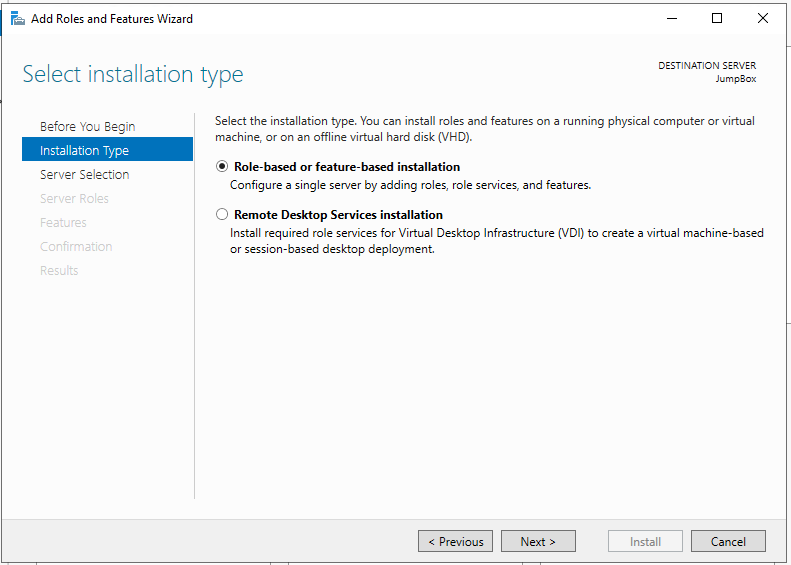
- From the installation type screen, select Role-based or feature based instalation
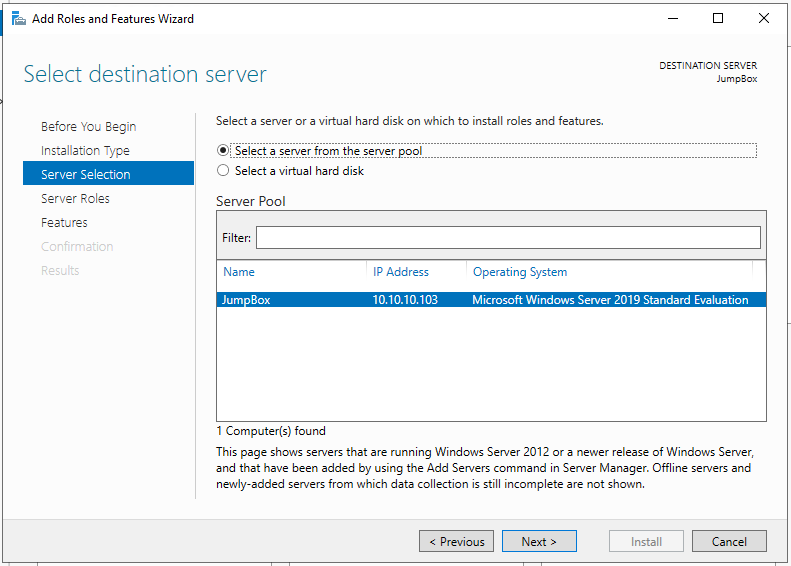
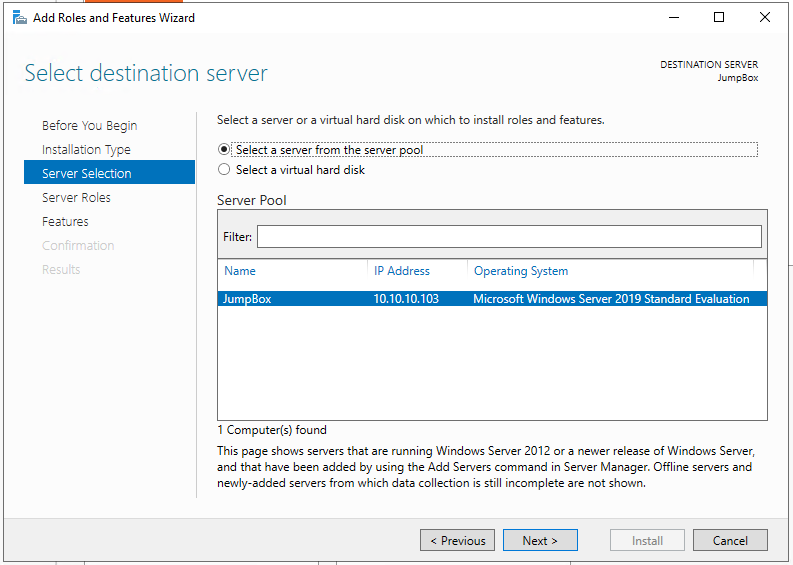
- Click Select a server from the server pool then select your server from the list
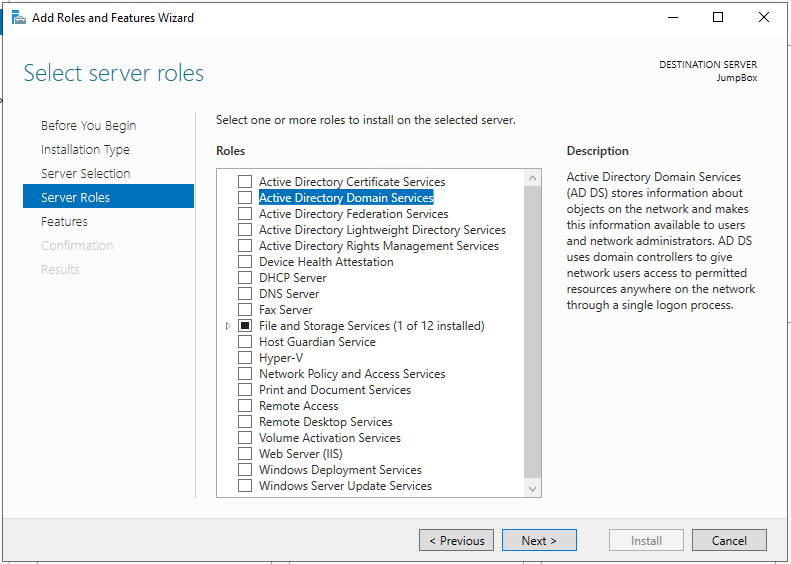
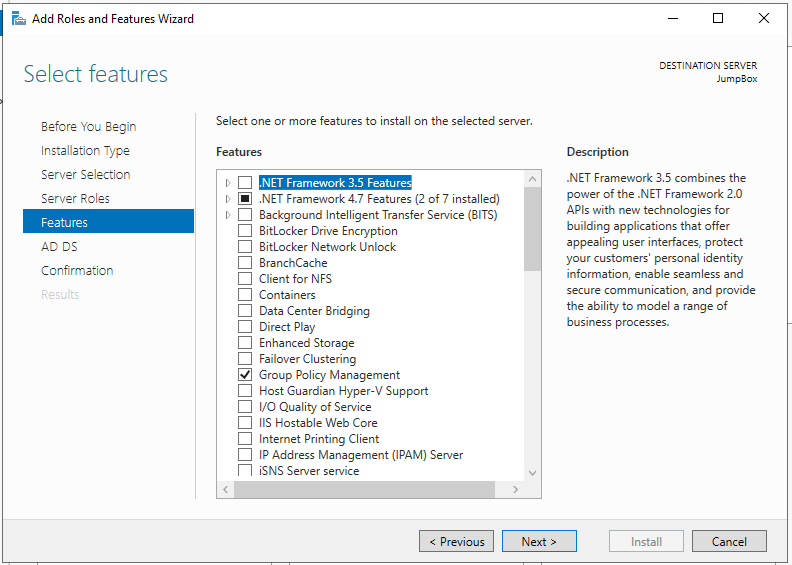
- Check Active Directory Domain Services
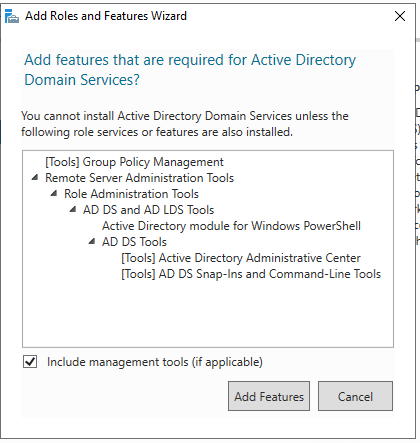
- You will be asked to add additional features, these are required so click the Add Features button.
Click Next
- On the Select Features page, leave the options selected and click Next.
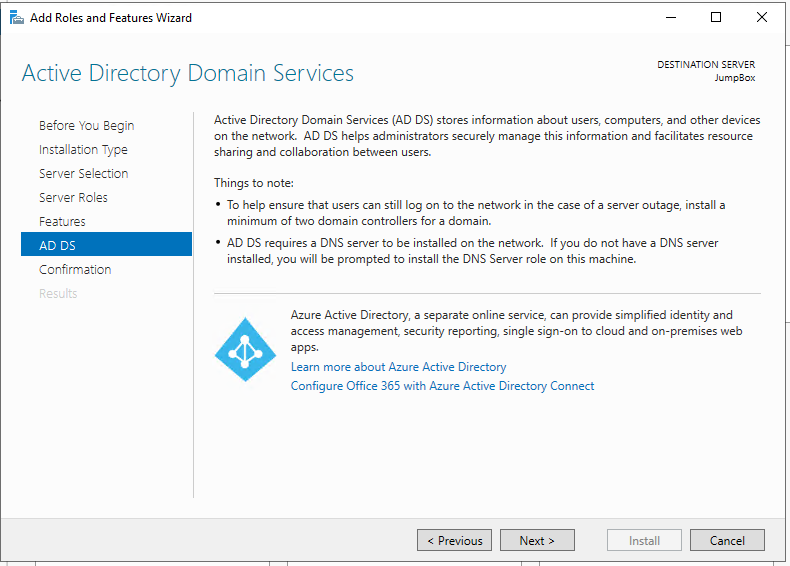
- Click Next on the Active Directory Domain Services page.
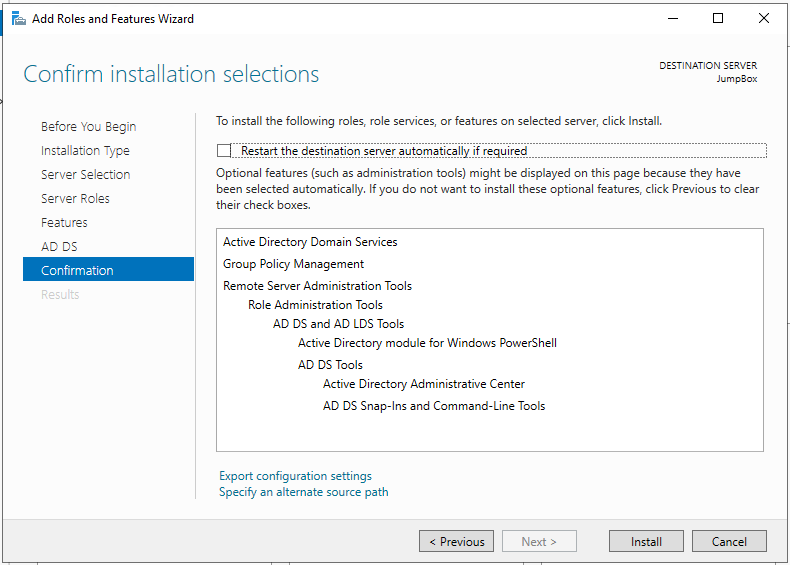
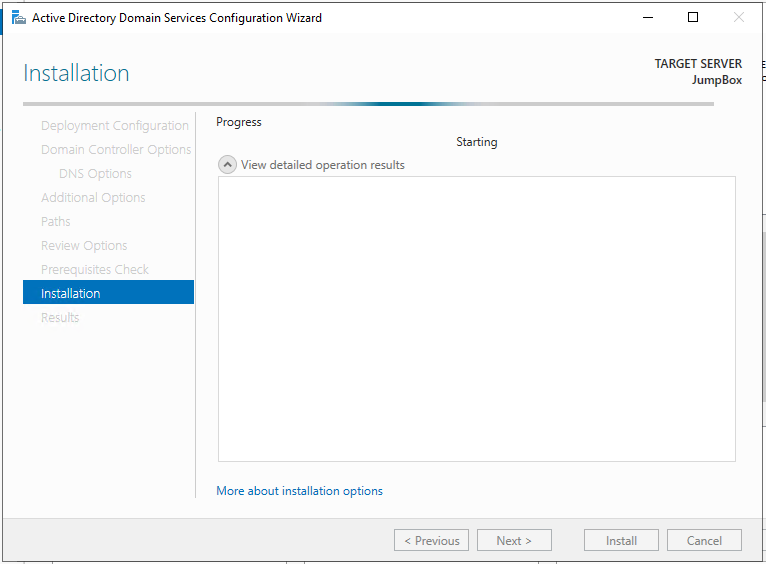
- Click install on the confirmation screen
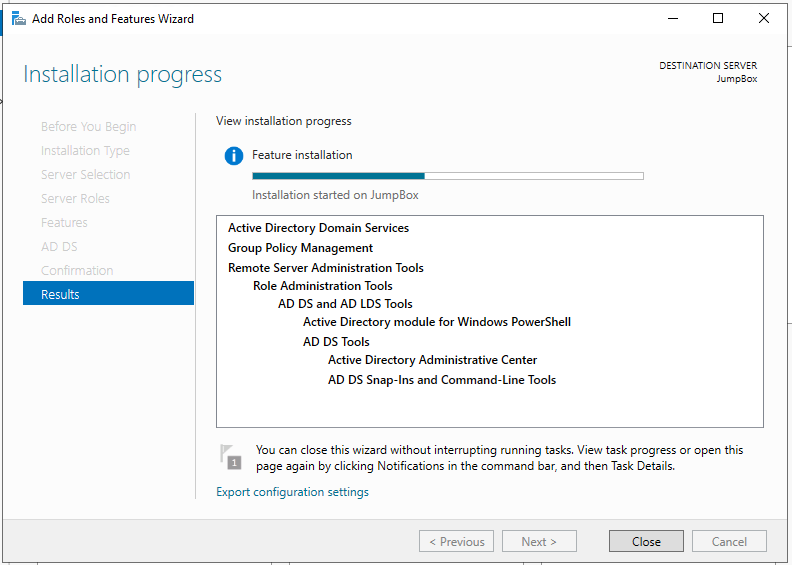
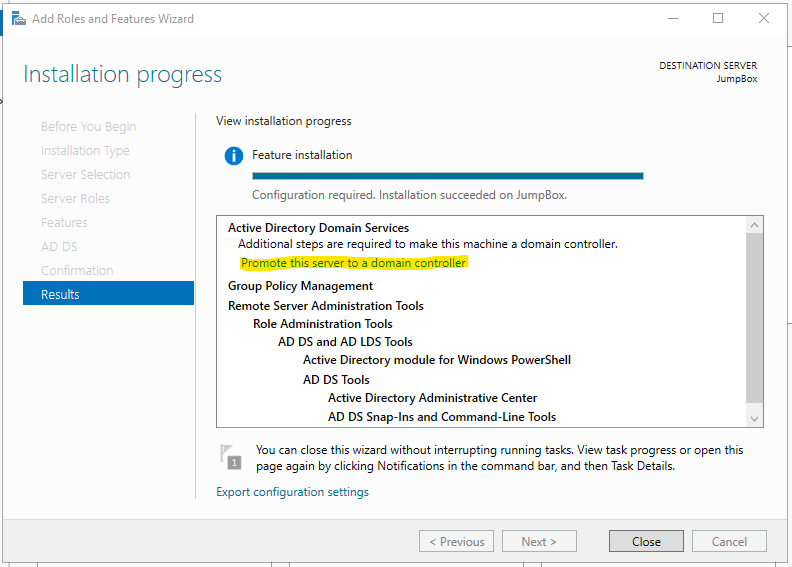
- Installation should now begin
- Once the installation has completed, click Promote this server to a domain controller
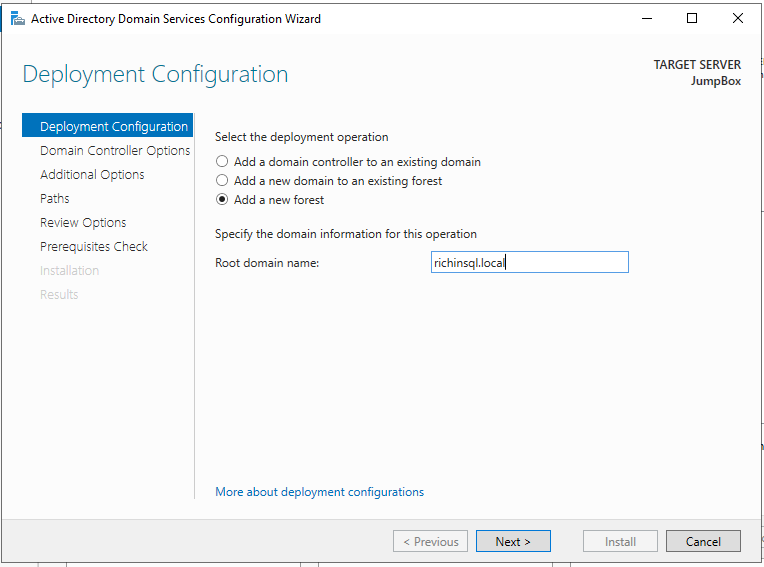
- Select Add a new forest and enter a name for your new forest, I went with richinsql.local
Once you are happy, click next.
- Enter a DRSM password, make a note of this somewhere
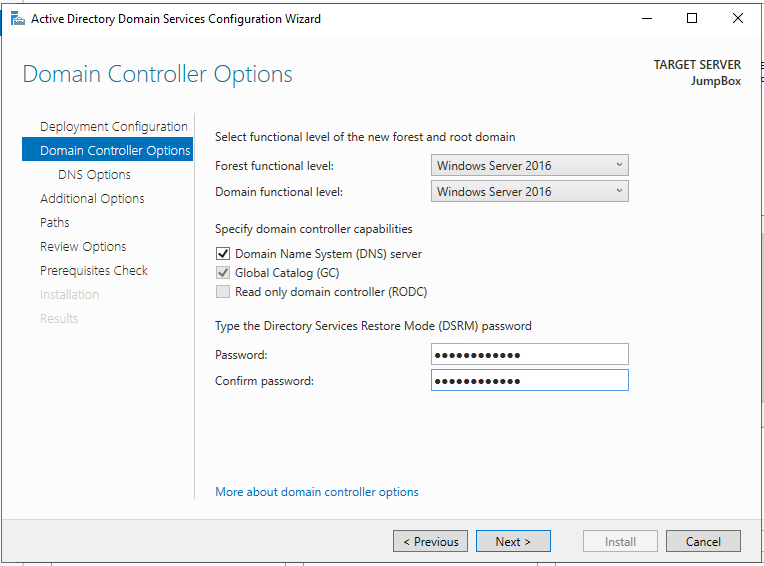
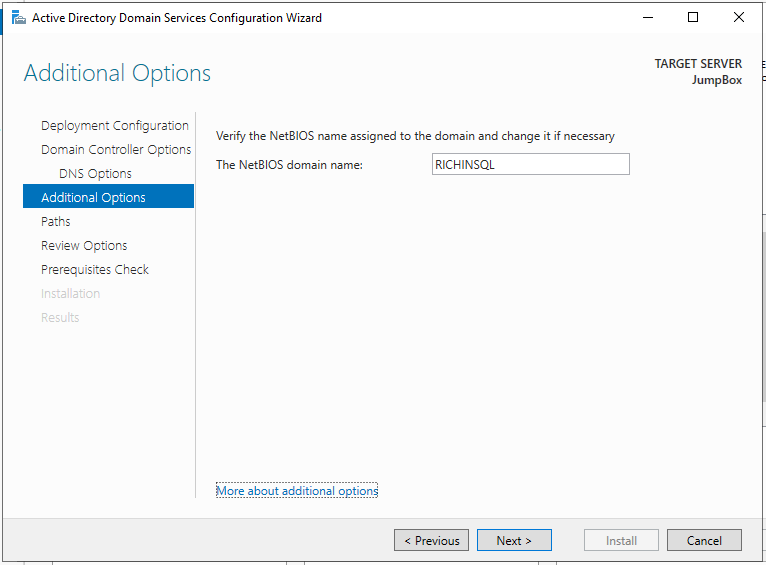
- Leave these settings as default and click next.
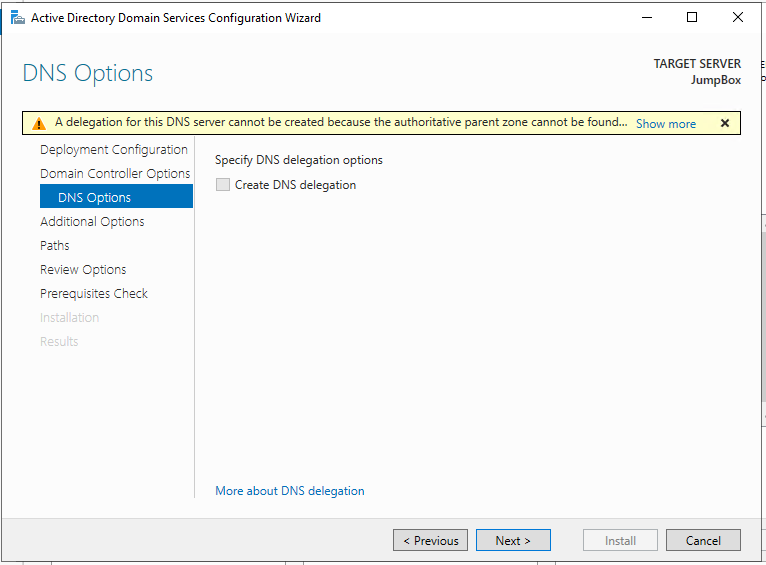
- Leave these settings as default and click next.
- Leave these settings as default and click next.
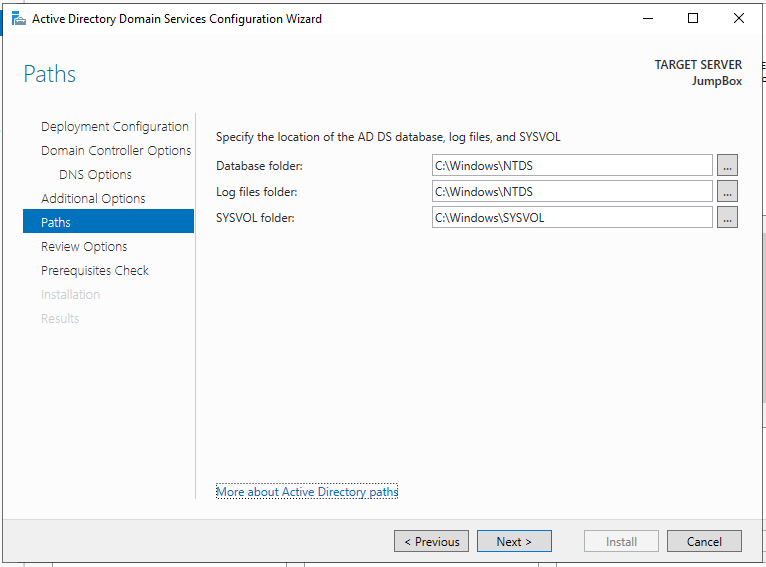
- Leave these settings as default and click next.
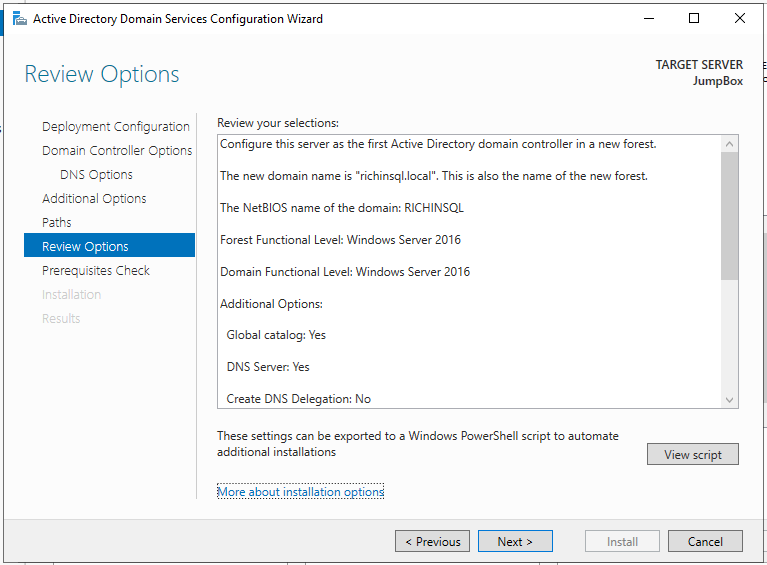
- Leave these settings as default and click Install.
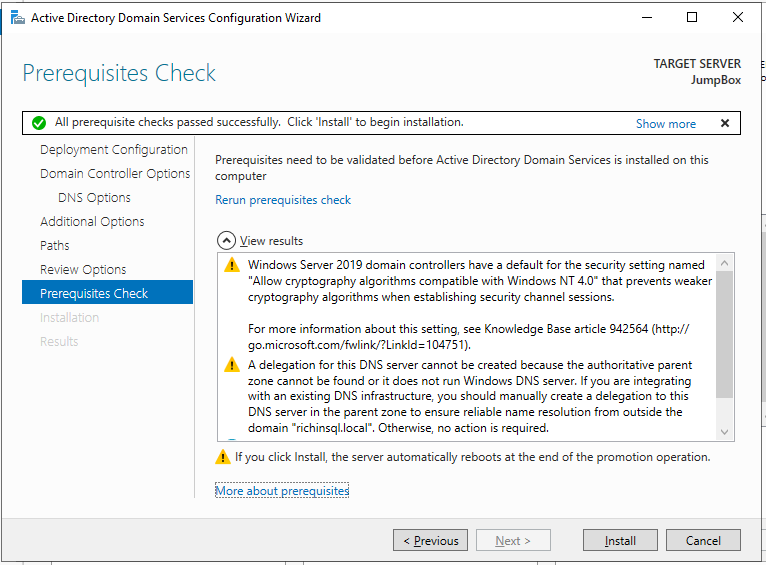
- The domain services role will now be installed, once this is complete, you will need to reboot the server.
Creating a user account in active directory
Now that the domain service role is installed on the domain controller, we need to add a user account with the Domain Admin group applied.
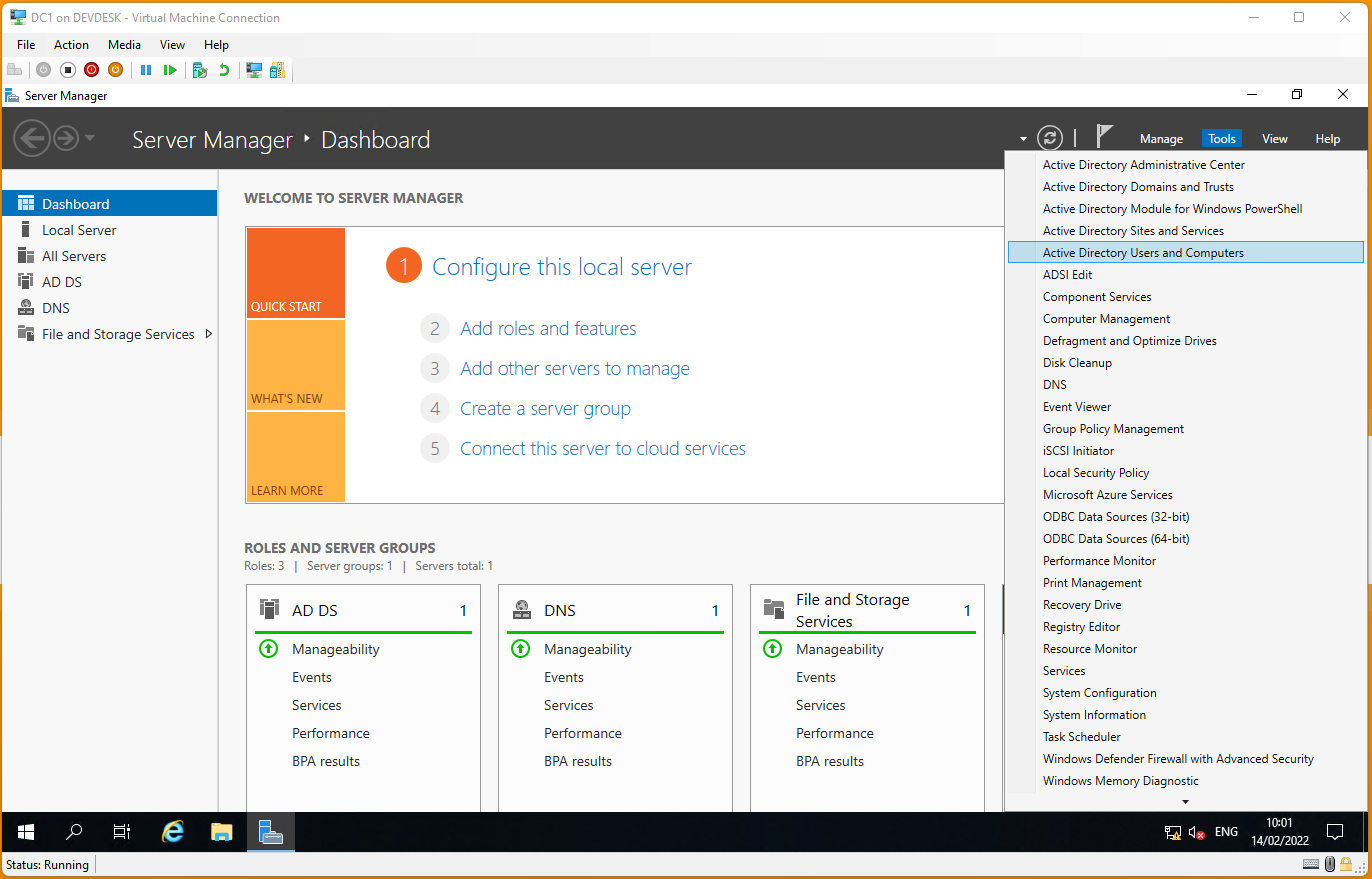
- From the Server Manager on DC01 click the Tools button, then select Active Directory Users & Computers from the list.
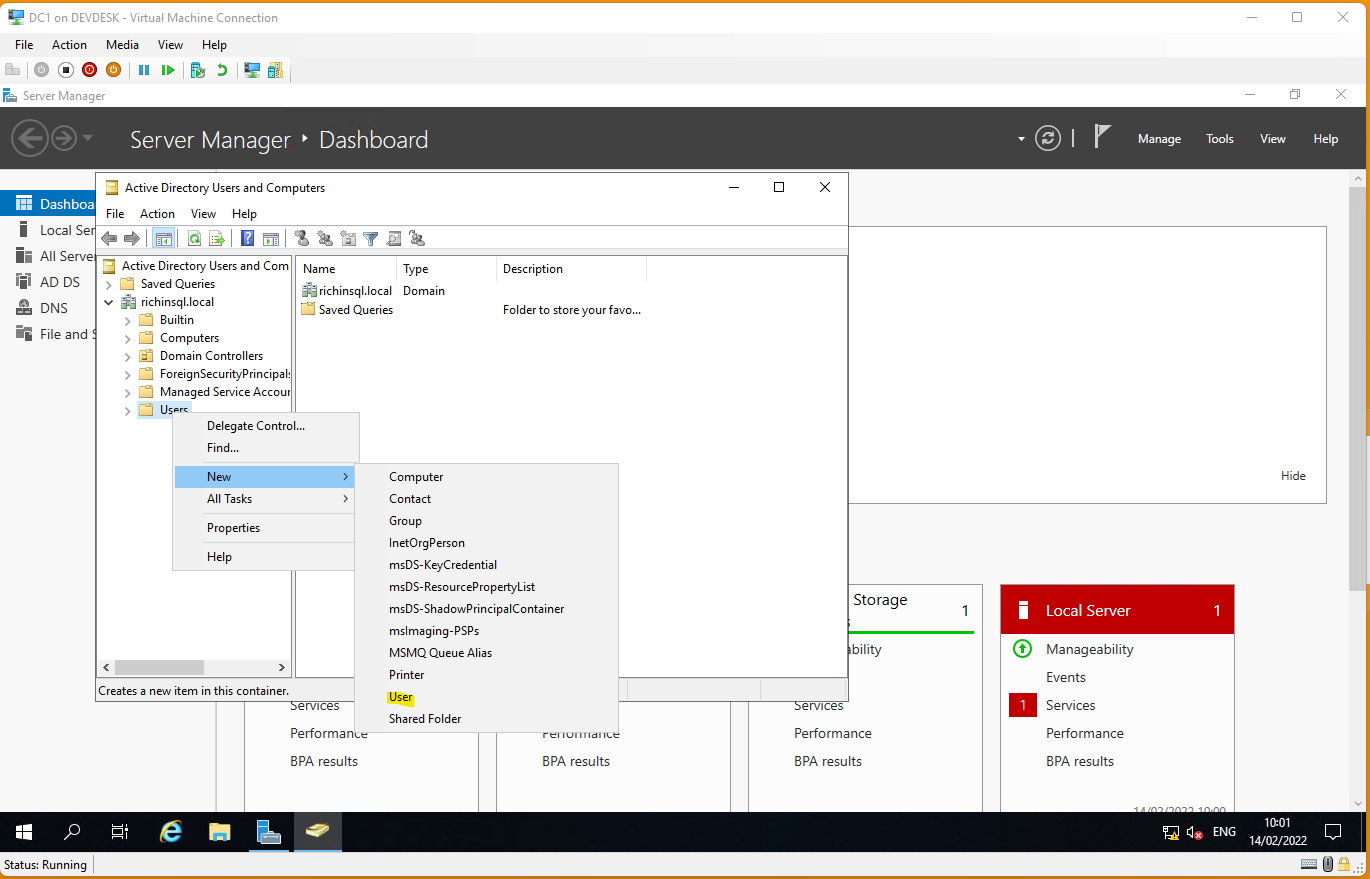
- Expand the forest you created in the previous step, then right click on Users and select New then User.
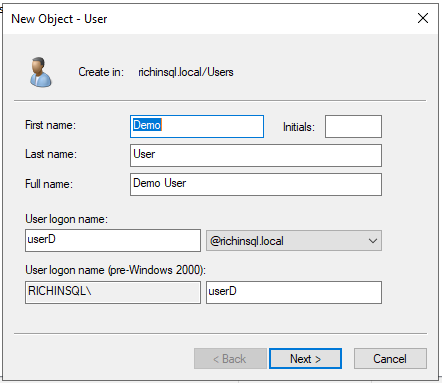
- Enter some details for your user in the box that appears.
Click Next
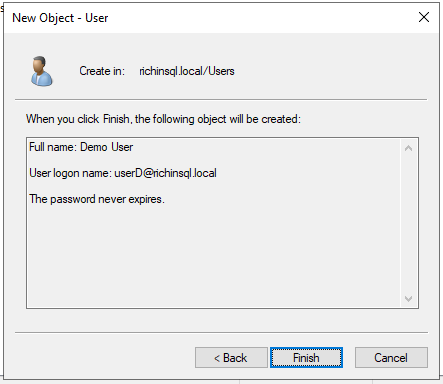
- Enter a password for your user, uncheck the User must change password at next login box and check the password never expires box.
Click Next

- Click Finish
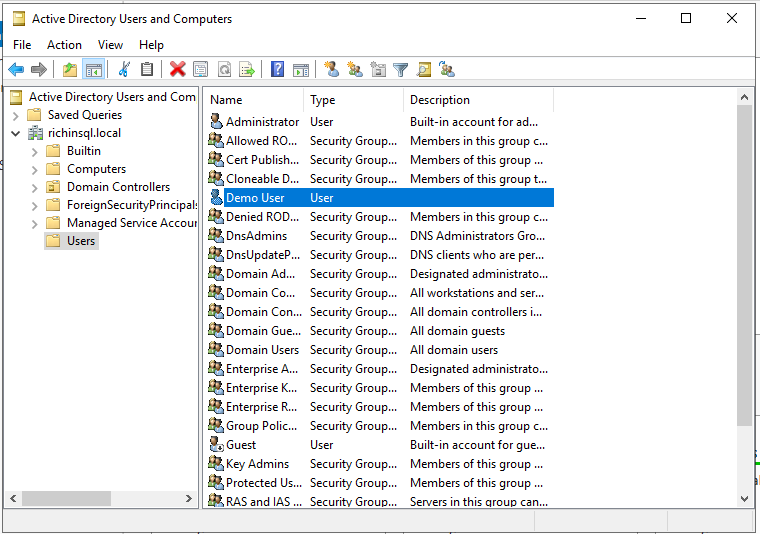
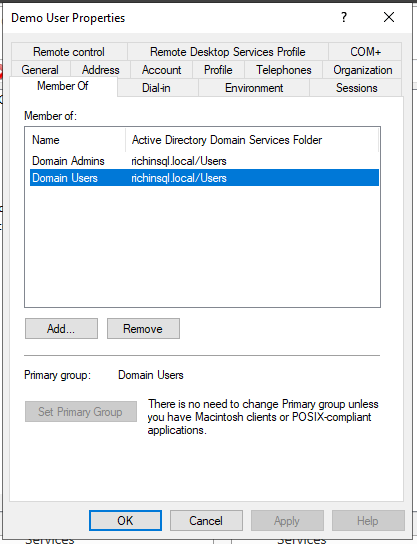
- Click the users folder from the tree view, find your user in the list.
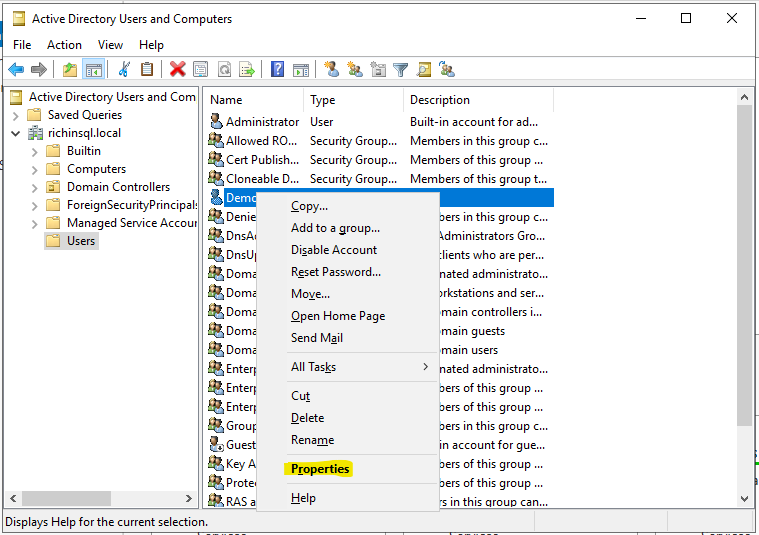
- Right click on your account and select Properties
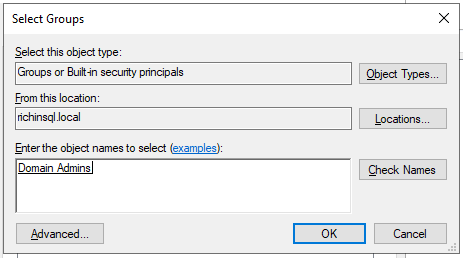
- Click the Member Of tab and press the Add button
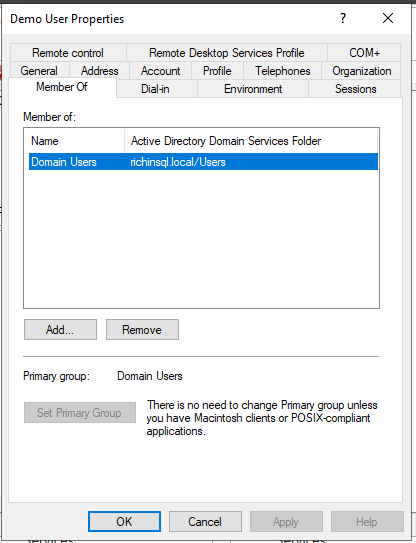
- Type Domain Admins into the box and click Check Names
Click Ok.
- Click Ok
Your domain account is now setup, you will be able to use this account to login to the domain from each of the servers in the lab.
Joining server to the domain
With our user account now successfully created, we need to get the other two servers joined to the domain. If you haven’t yet created the two SQL Servers, go and do that now and configure them as per the Configuring Windows section and come back.
- Open up File Explorer, you can do this by pressing Windows & E on your keyboard
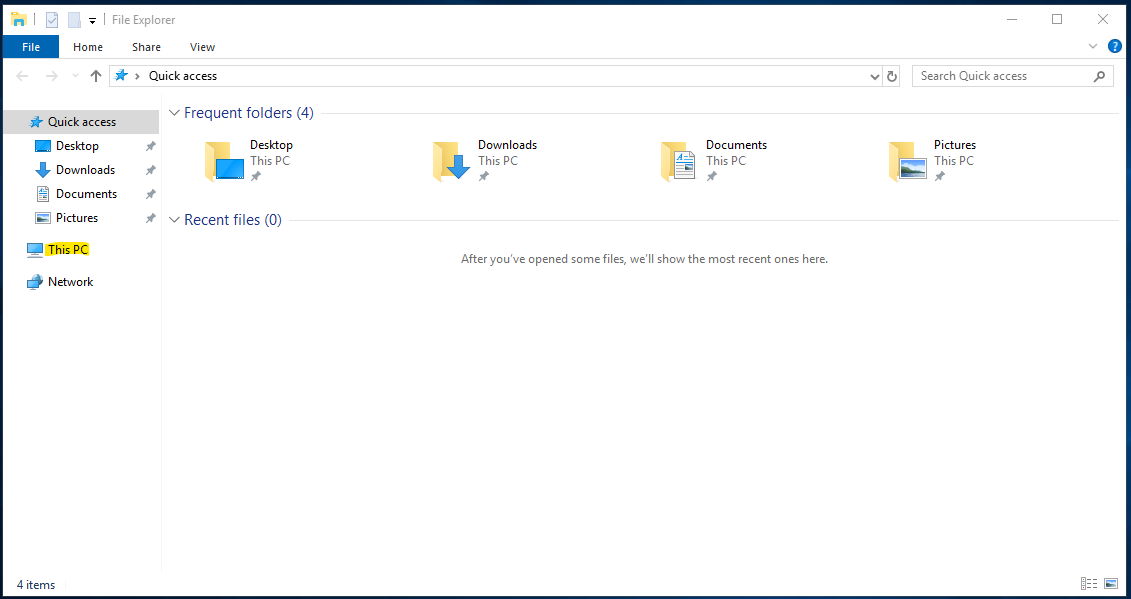
- Right click on This PC and select Properties
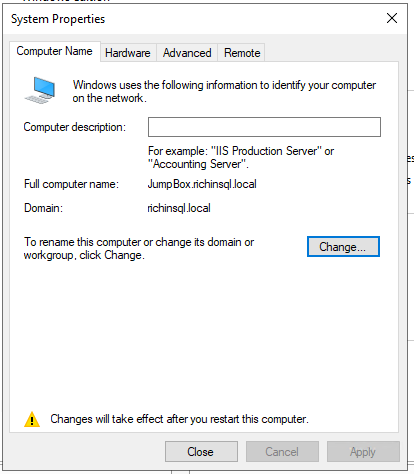
- From the System window, click Change Settings

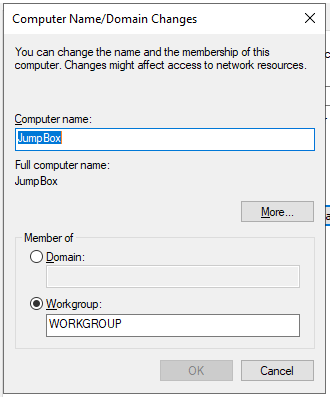
- From the System Properties screen, click the Change Button
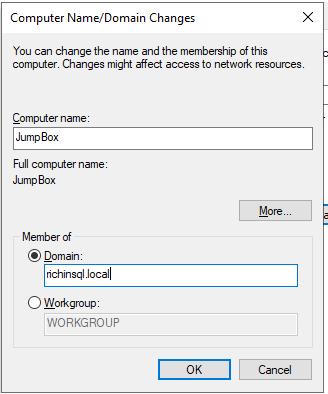
- From the Computer Name/Domain Changes screen change the radio button from Workgroup to Domain and enter the name of the domain you created when you created the forest earlier.
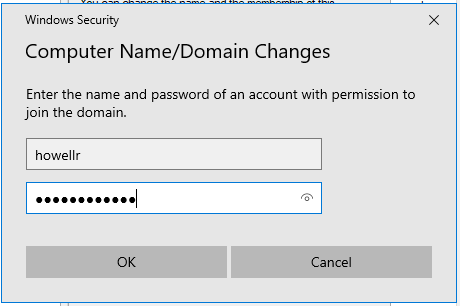
- You should be asked to enter the username and password of someone who has permission to join the domain, that will be the user account you created in the previous step. Enter those details and click Ok.
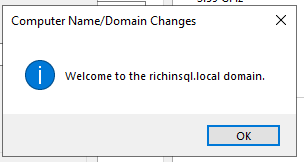
- You should now be presented with a box welcoming you to the domain. Click Ok.
- Click Close
- Click Ok
- Click Restart
When the server reboots, you will need to log back in with the domain user account.
Install Microsoft SQL Server
Installing SQL Server needs to be completed on both of the SQL Servers you created, I am not going to walk through how to Install SQL Server, but you need to do that here, I used SQL Server 2017 Developer Edition.
Installing Failover Feature
This needs to be completed on both SQL Servers that we are going to add to the Failover Cluster.
- From the server manager, Click Add Roles and Features
- Click Role-Based or feature based installation
- Click Select A Server from the server pool
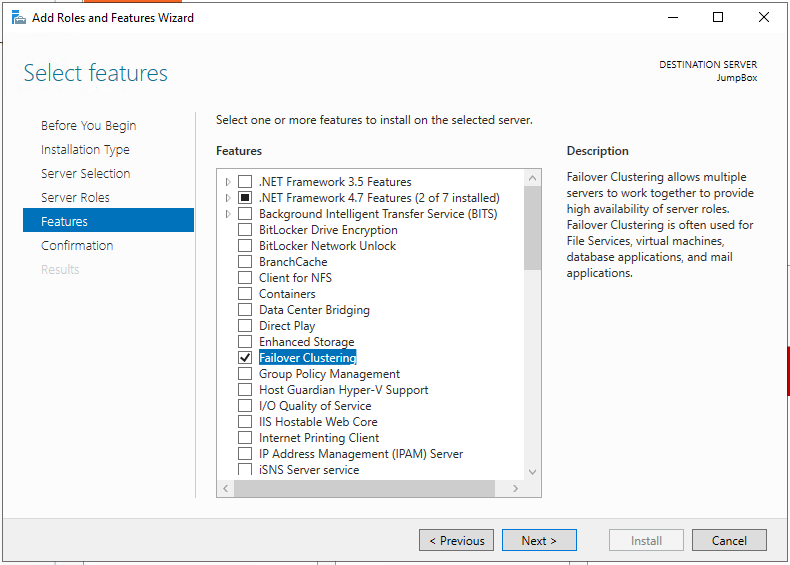
- Check Failover Clustering
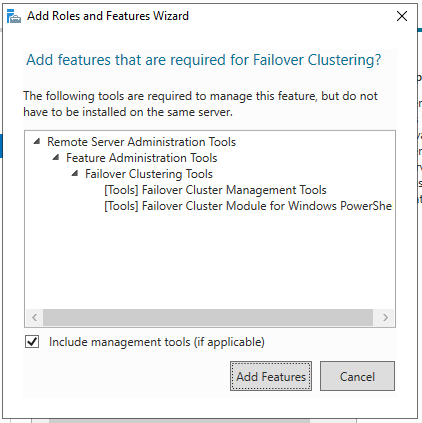
- Add the additional features that you are prompted to add.
- Click Install

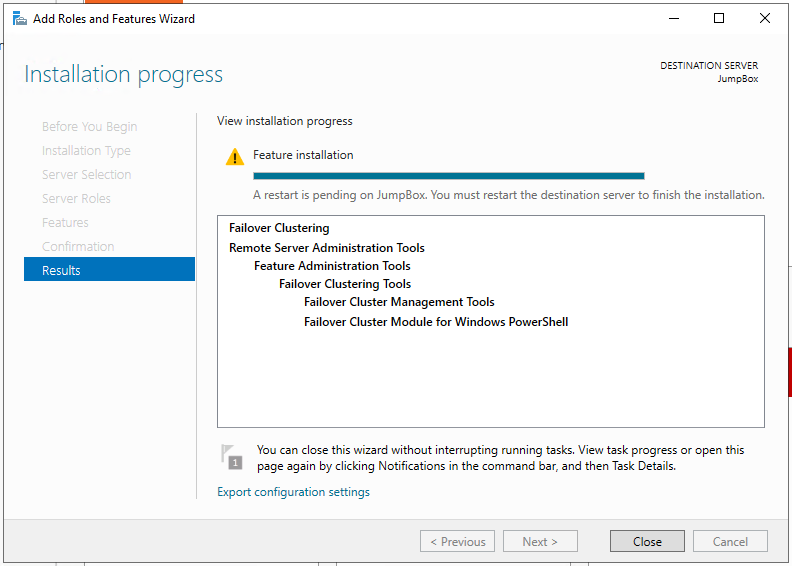
- Installation of the role should now begin
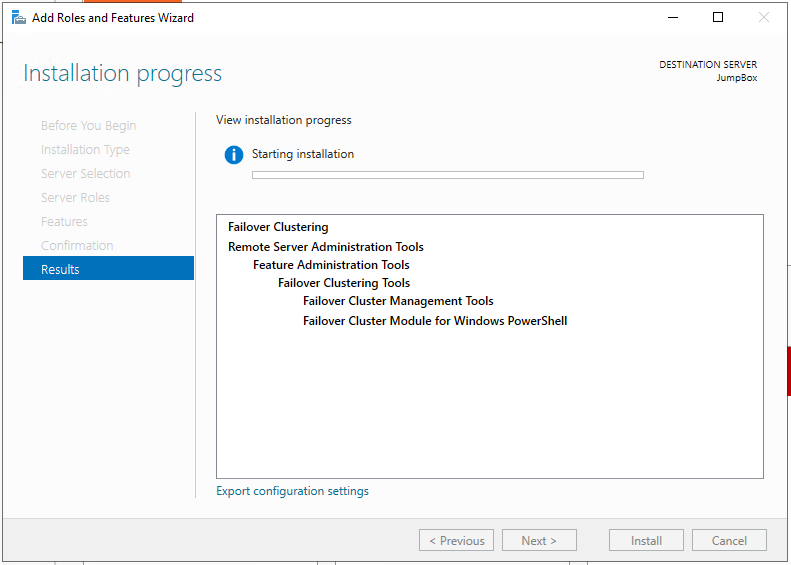
- Once complete, click Close and reboot the server.
Creating a failover cluster
This only needs to be completed on one of the SQL Servers but can’t be completed until the previous step is completed on both servers.
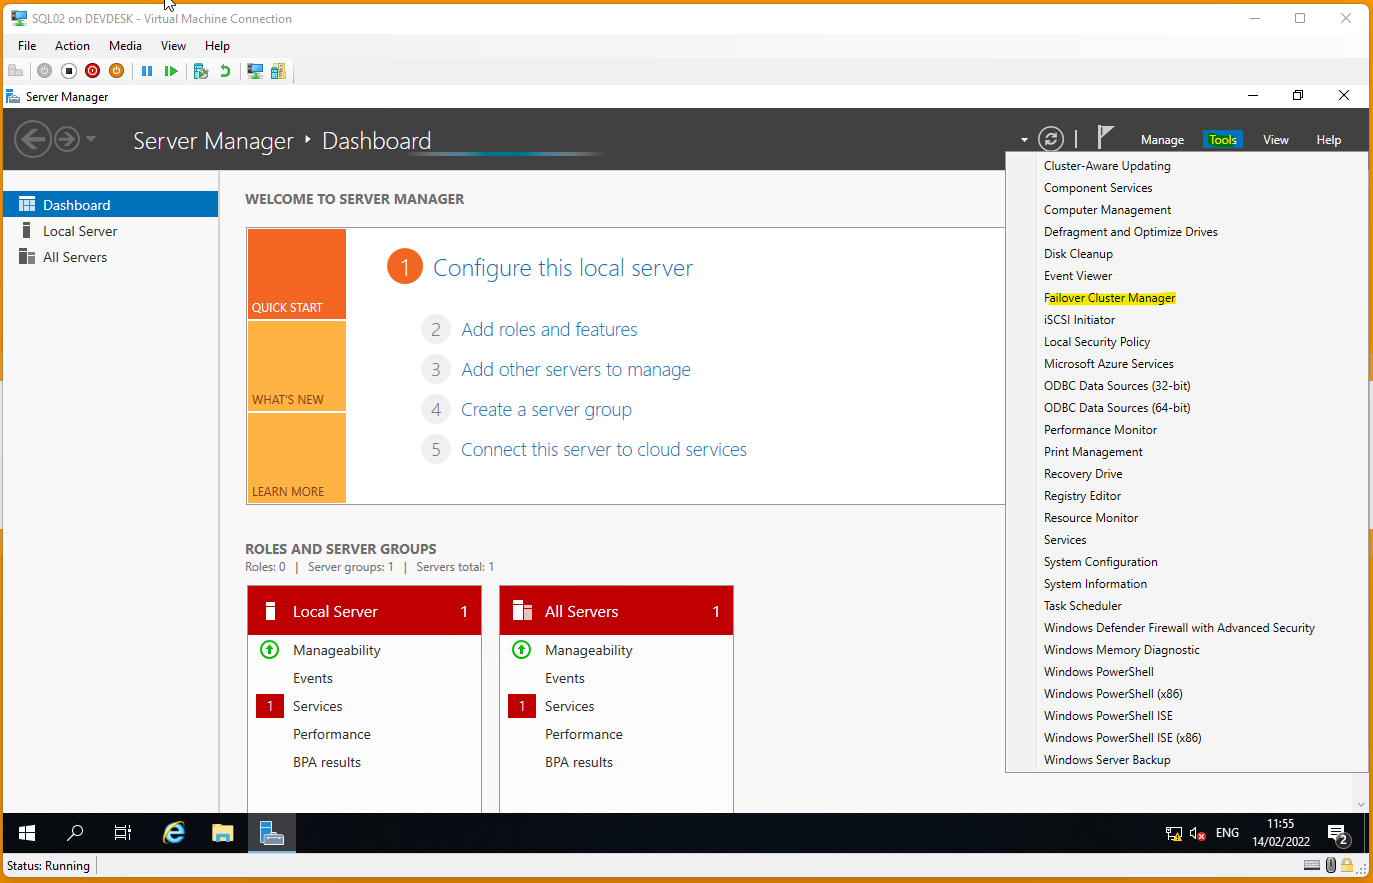
- From the Server Manager, Click Tools then Select Failover Cluster Manager
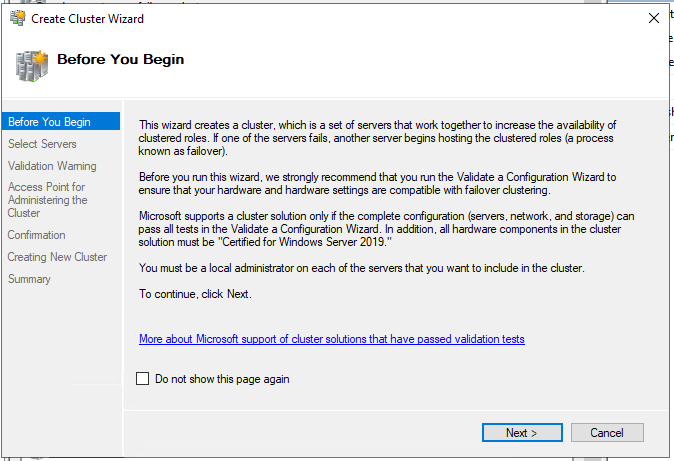
- Click Create Cluster from the Action menu
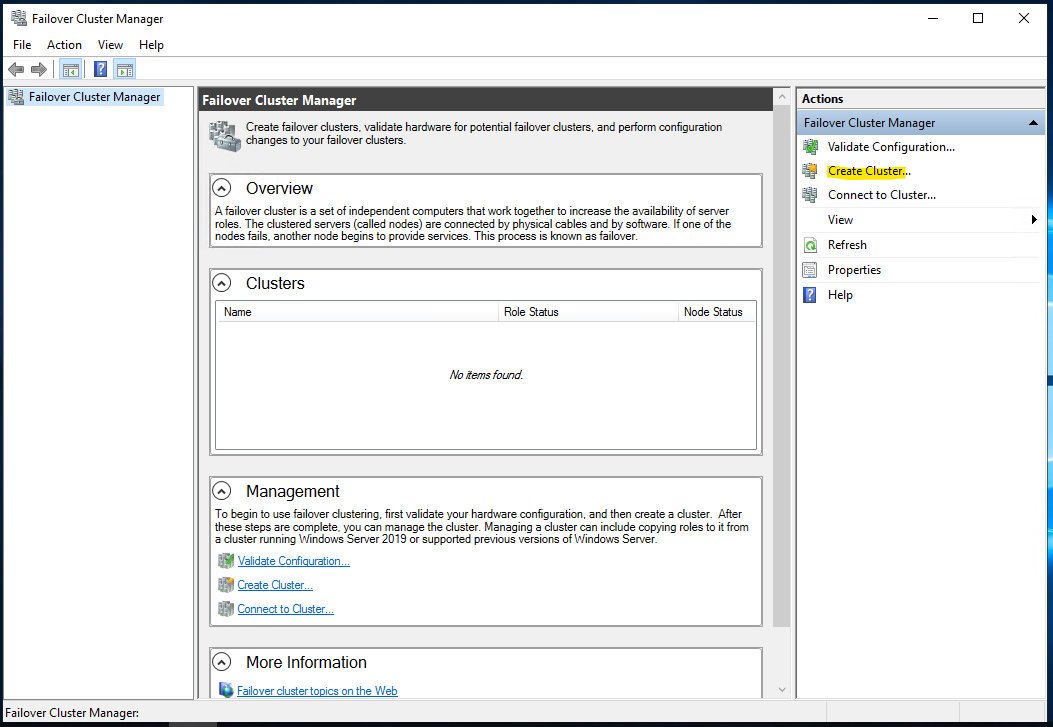
- Click Next
- Click browse
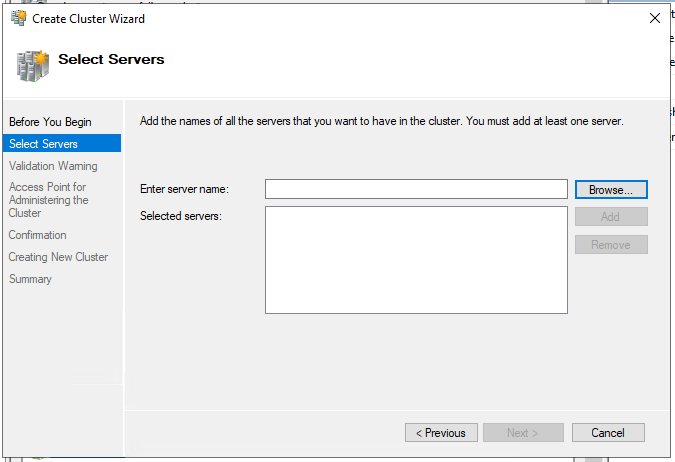
- Enter the name of the two SQL Servers separated with a semicolon and click Check Names, then click Next.

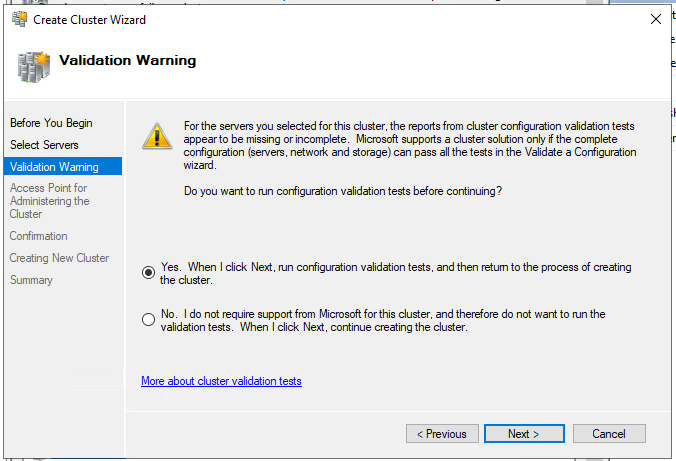
- Leave as default and Click Next

- Leave as default and Click Next
- Leave as default and Click Next
- Leave as default and Click Next

- Leave as default and Click Next
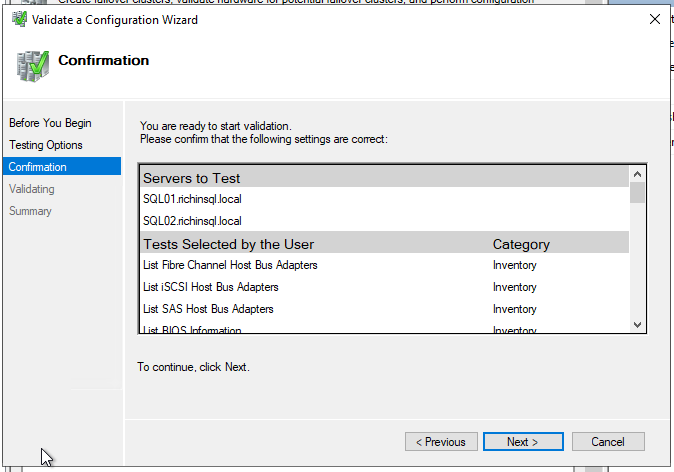
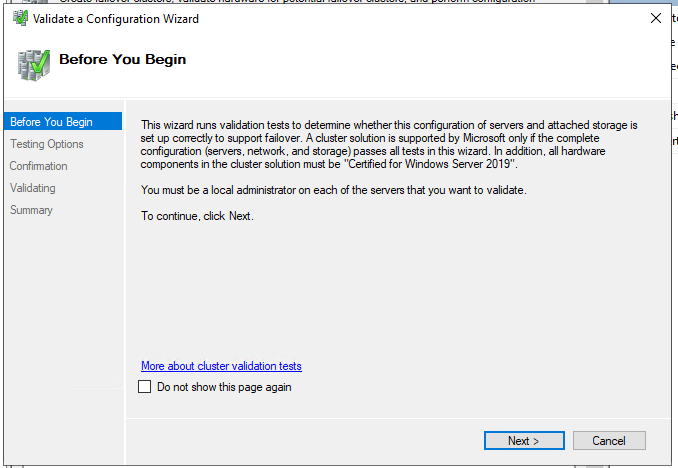
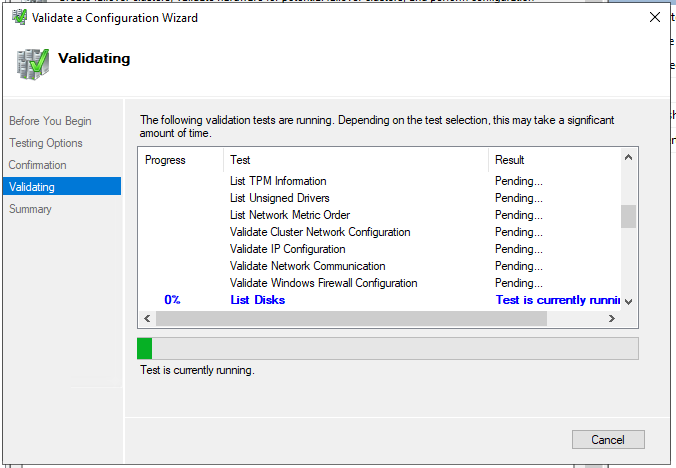
- Validation tests will now be carried out on the configuration
- Click Finish

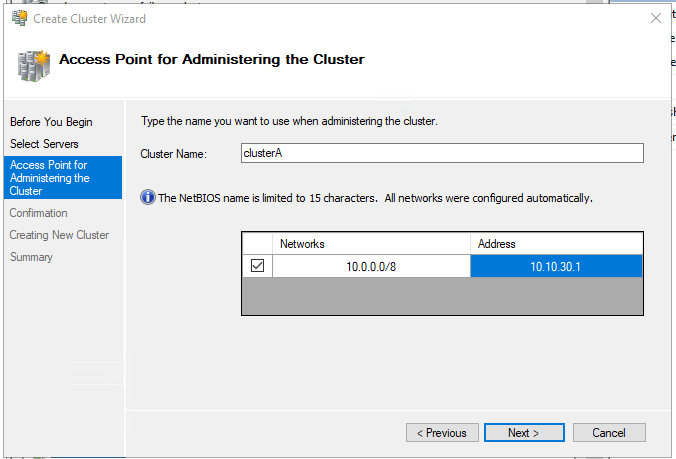
- Enter a name for your cluster in the Cluster Name box, you can use something like cluster1
Click in the Address box and enter an IP Address for the Cluster
Click Next
- Leave as default and Click Next
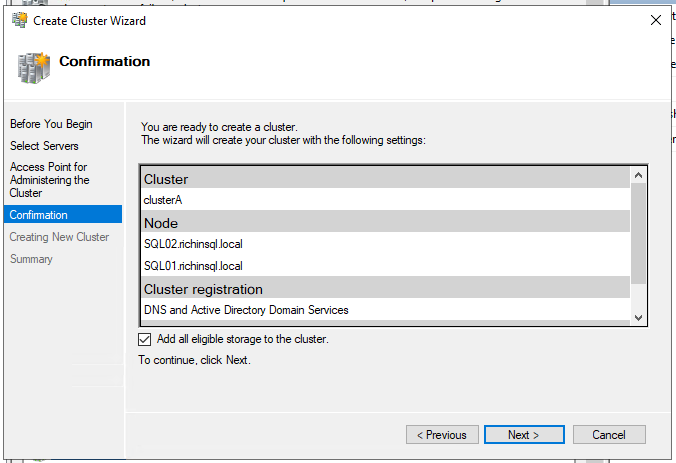
- The Cluster will now be created
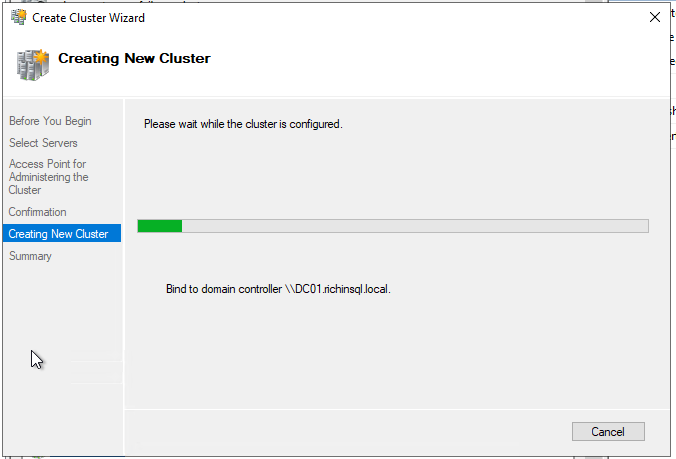
- Once the Cluster has been completed, Click Finish
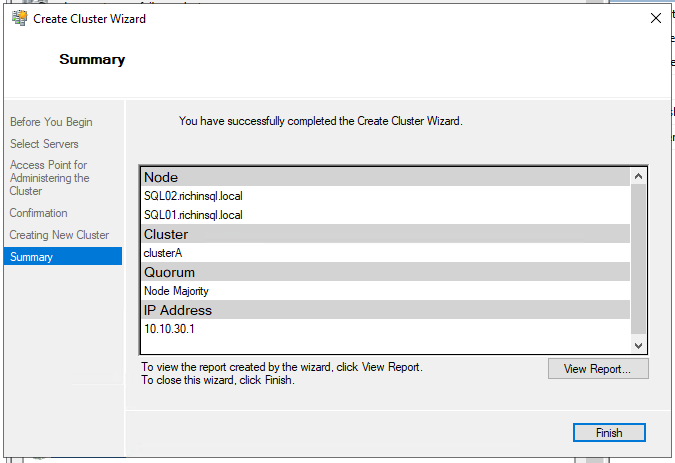
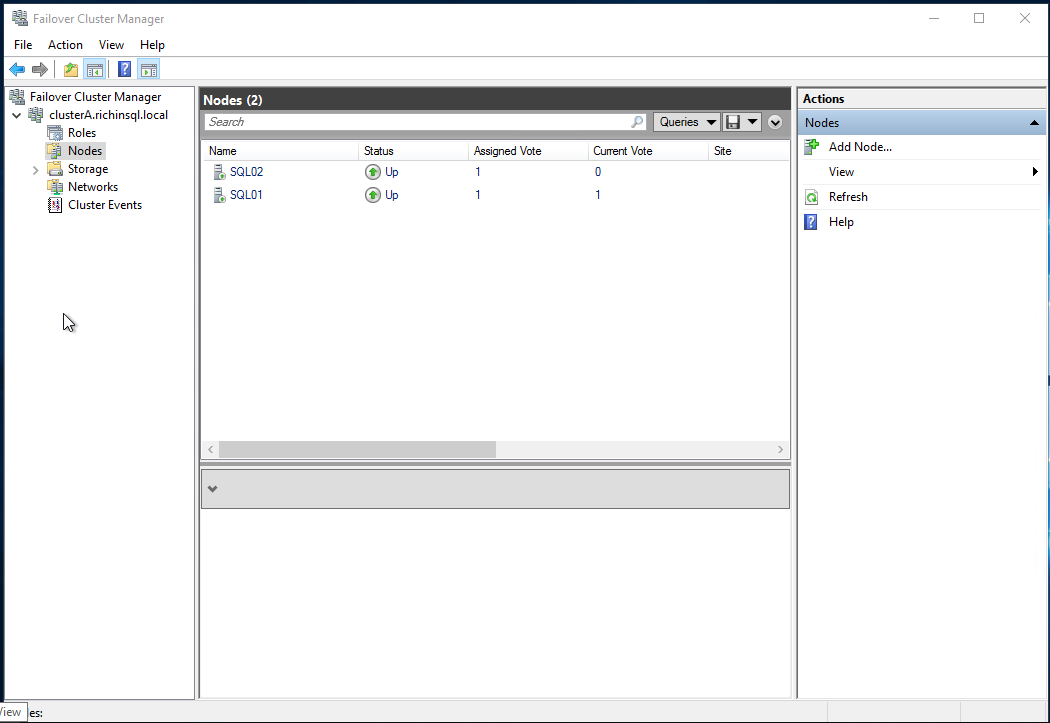
- Back in the Cluster Manager, Click Nodes from the cluster tree on the left, you should now see both nodes you added appear as up.
Configuring quorum and file share witness
We now need to Configuring quorum and file share witness, this involves creating two directories somewhere in the lab, I decided to put them on the Domain controller, once that is done, we then need to configure the failover cluster quorum settings so it knows about the witness.
Create the fileshares
Back on the domain controller we need to create two file shares.
- Witness - A witness log file is maintained by the cluster, it contains information about the health of the cluster, witness and quorum voting. Each node has a cluster service running that periodically checks in with the other nodes and witnesses to validate the health of the cluster. If a node cannot communicate with other nodes, it will then verify connectivity with the witness, access the witness log and decide if based on the vote if it should take control.
- SQLBackups - this will be used by the availability group to back up the databases in the AG when joining them, this is like a scratch space, it isn’t used for anything else once the database is added to the AG.
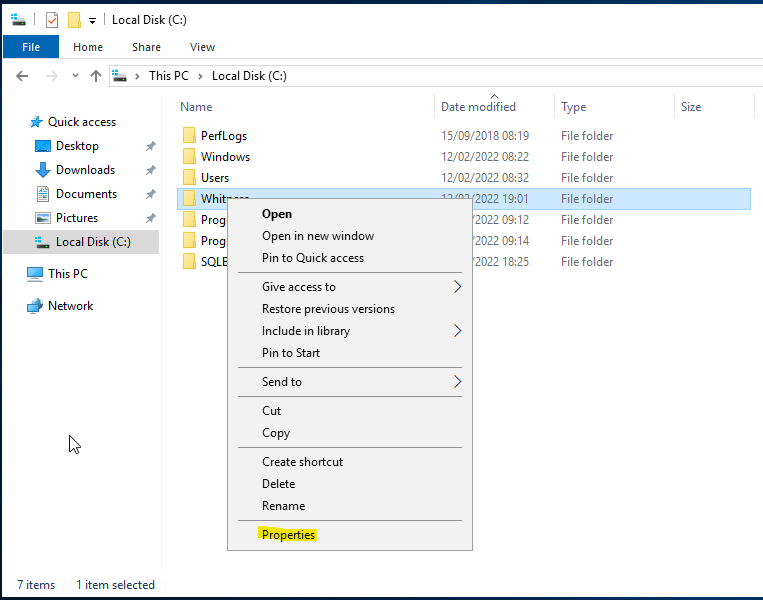
- Open up file explorer and create the above two directories somewhere on the local filesystem.

- Right click on the folder created and select Properties
- Click the Sharing tab
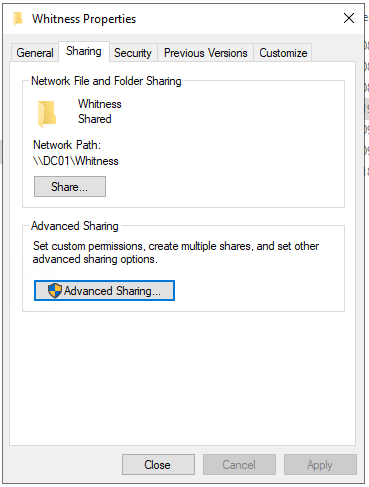
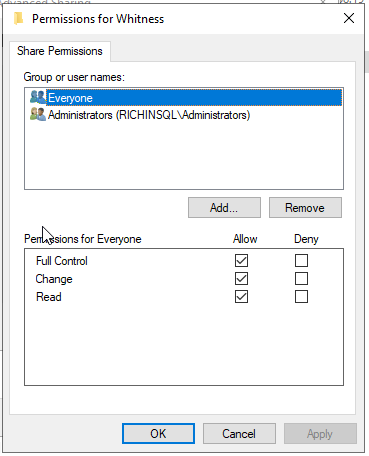
- Tick the Share this folder checkbox, then click Permissions

- Add Everyone with full permission.
DONT do this in a production environment, you should limit the access to those who need it, but for our lab, this will be fine.
Click Ok.
Configure the quorum
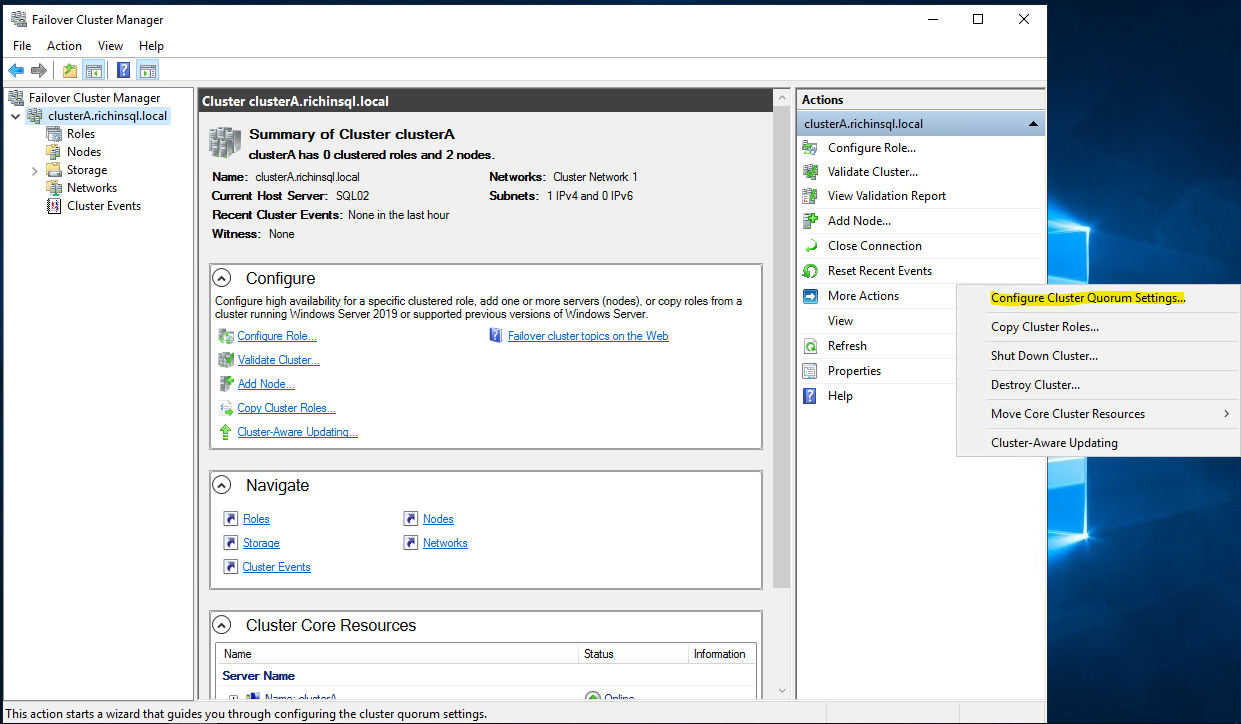
Jump back over to one of the SQL Servers and load up the Failover Cluster Manager.
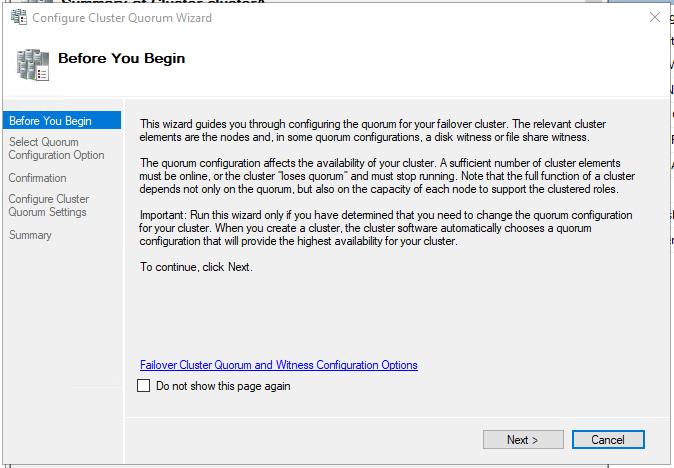
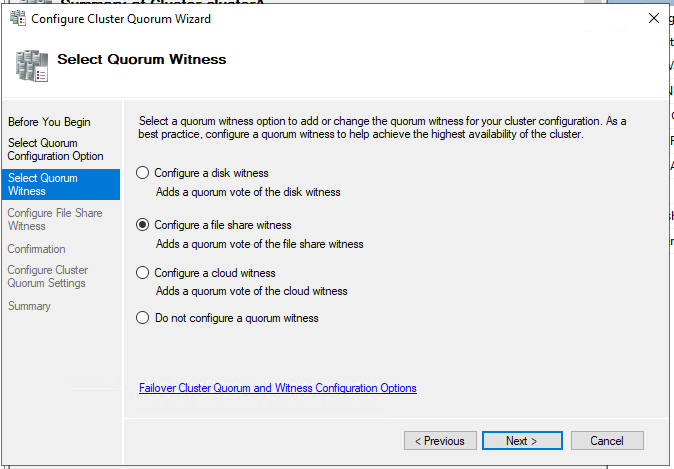
- From the actions menu on the right, click the More Actions button then click Configure Cluster Quorum Settings.
- Click Next
- Change the option to Select the quorum witness
Click Next

- Change the option to Configure a file share witness
Click Next
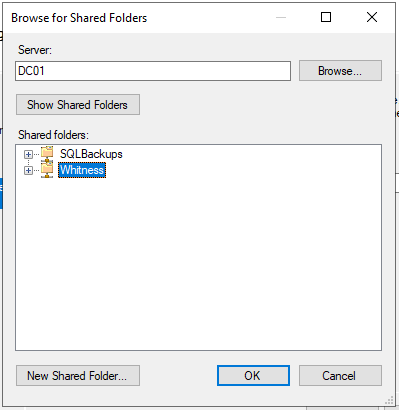
- Click Browse
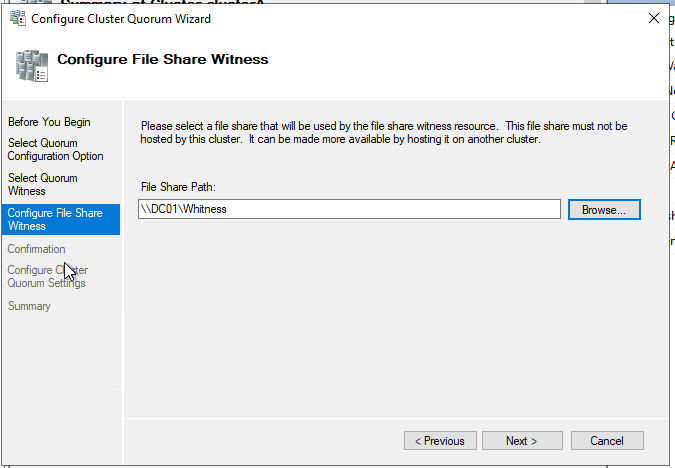
- Enter the name of your domain controller, click the Witness folder and Click Ok.
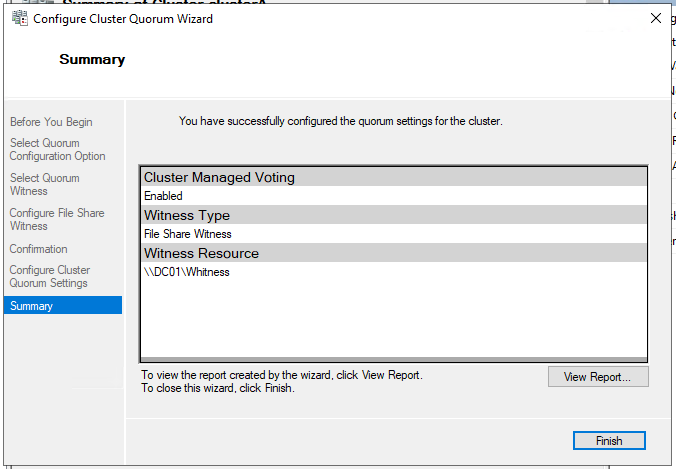
- Click Next
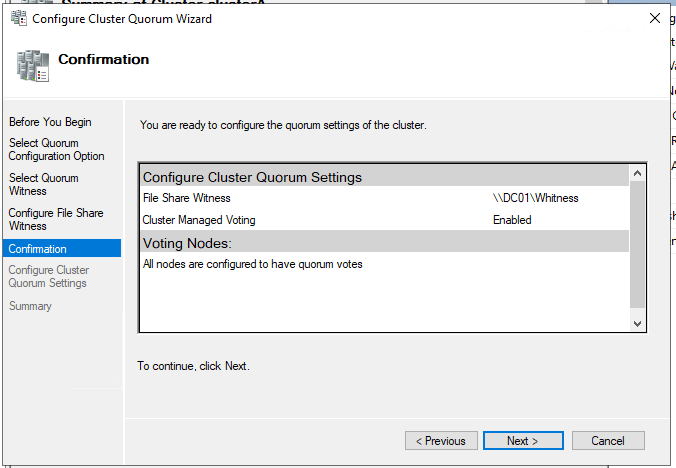
- Click Finish
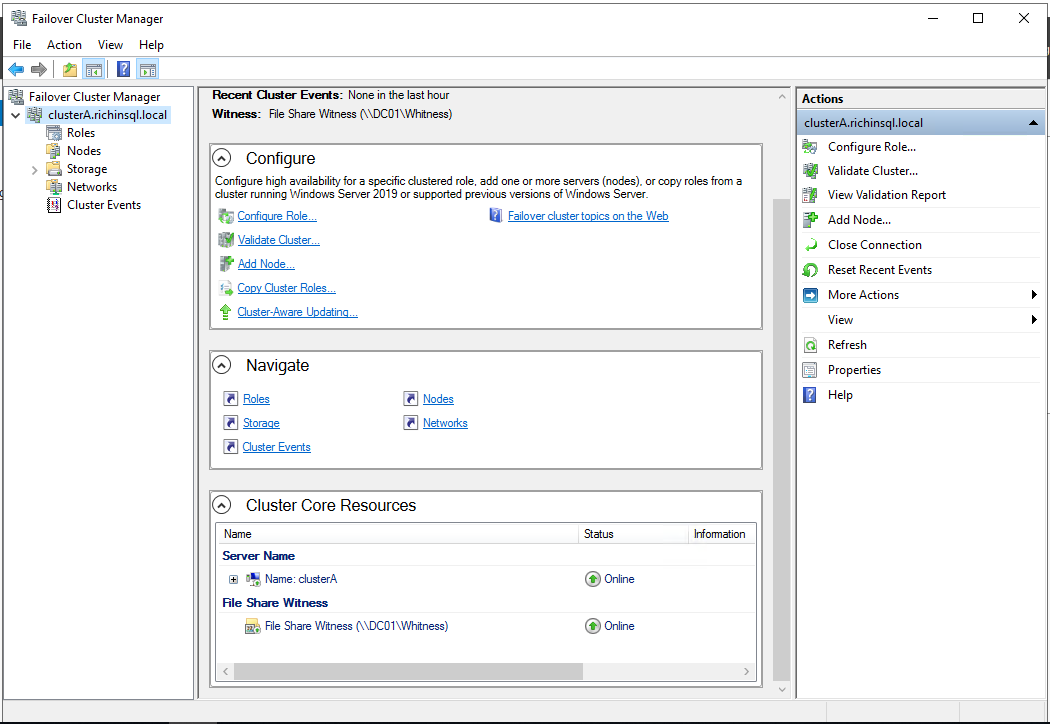
- Scroll down to Cluster Core Resources, you should now see the file share witness showing as an active resource.
Configuring SQL Server Service For Availabiltiy Group
With SQL Server installed and your failover cluster created, we need to make some changed to the SQL Service so that it can be used as an availability group.
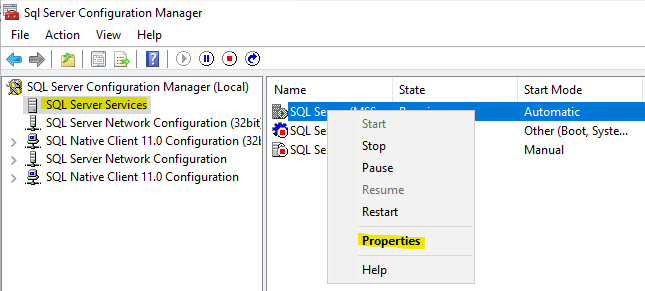
- From the start menu, find SQL Server [verion] Configuration Manager

- Click the SQL Server Services option from the left menu, then select SQL Server and right click it, selecting properties from the menu that appears.
- Change the account to the domain account you created earlier - I had to do this as I was running into issues when creating the availability group. Click Apply.

- You will get a warning that doing this will cause the Service to restart, which in production would cause users to lose connection to the database.

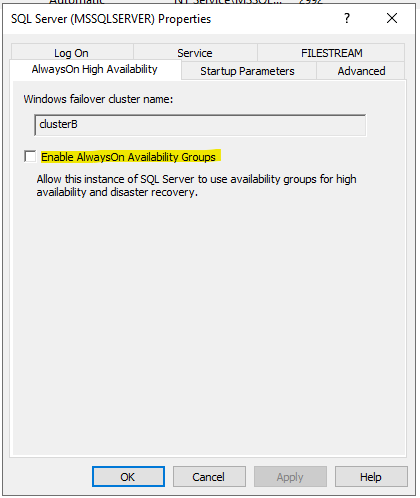
- Next click the AlwaysOn High Availabiltiy tab and check the Enable AlwaysOn Availability Groups.
Click Apply then Ok.
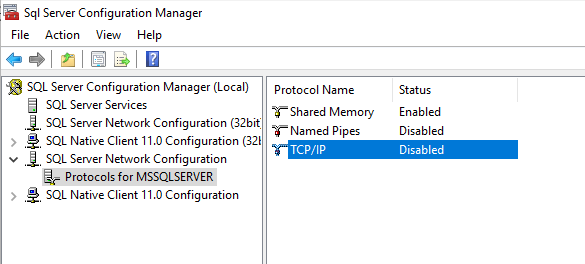
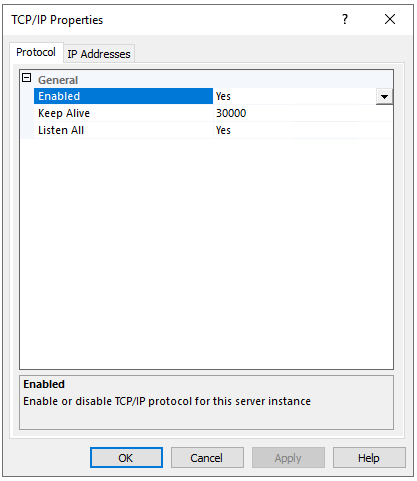
- Expand the SQL Server Network Configuration, select Protocols for MSSQLSERVER and enable TCP/IP if it isn’t already enabled.
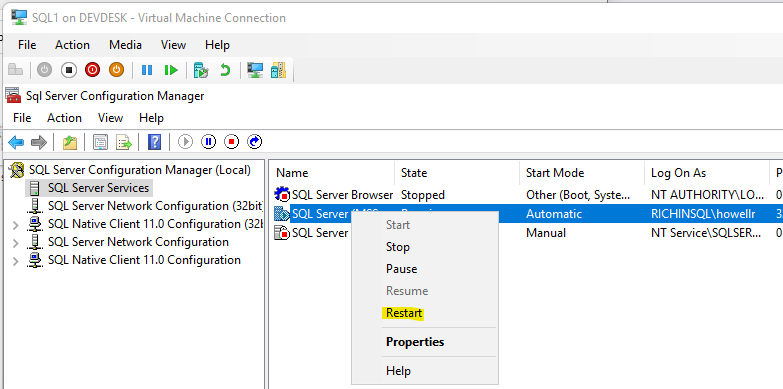
- Go back to the SQL Server Services and right click SQL Server and select Restart
You will need to carry out these steps on BOTH of the SQL Servers.
Creating SQL Server Availability Group
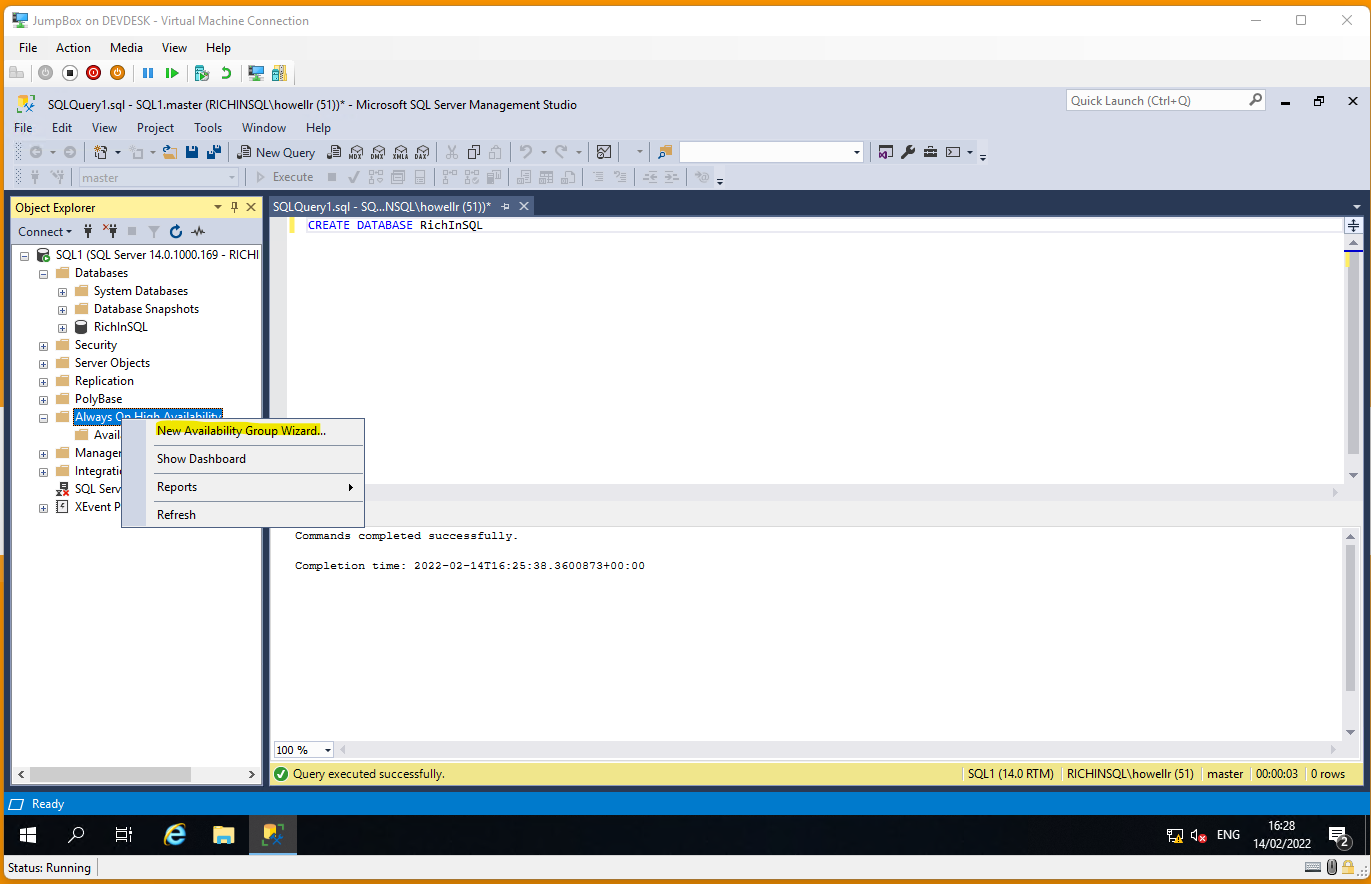
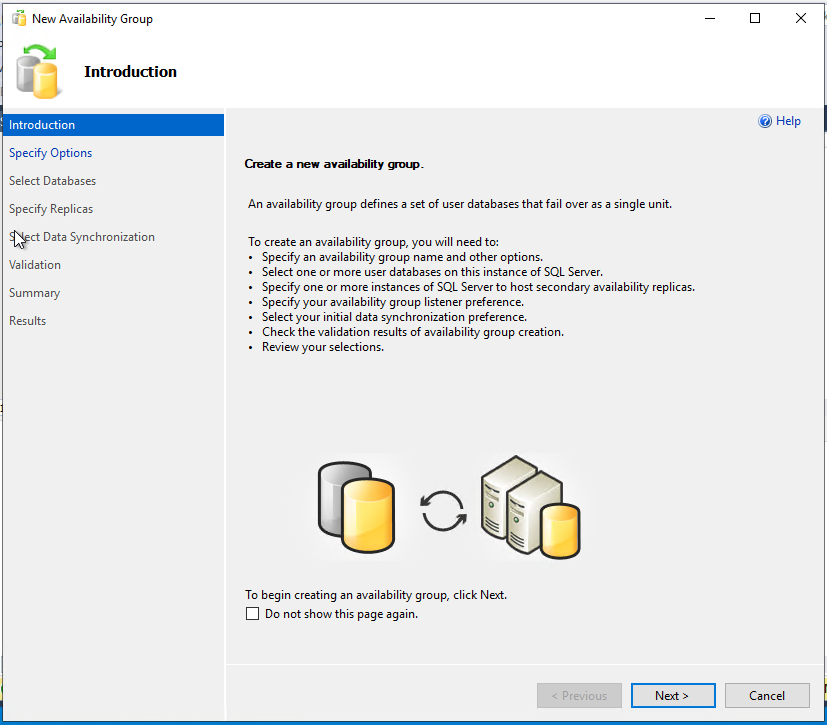
- From SQL Management Studio, connect to SQL1, Expand the tree, right click on Always On Availability Group and Click New Availability Group Wizard.
- Click Next on the Introduction window
- Enter an availability group name, this can be anything you want, I went with AG1, Click Next.

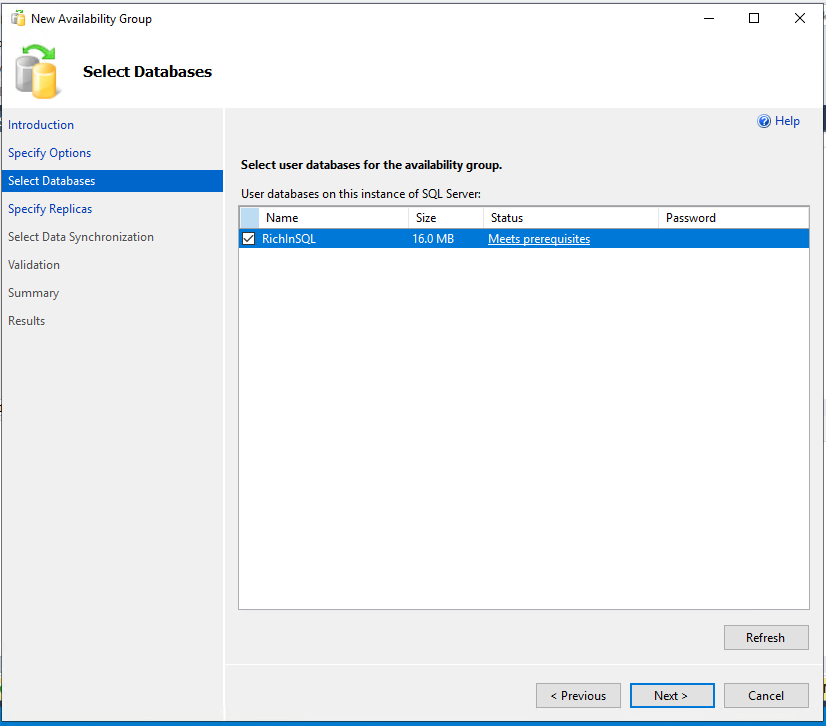
- Select the databases you would like to put into the Availability Group, you must select at least one and it must;
- Be in Full Recovery Mode
- Have a recent FULL backup
- Click the Add Replica Button
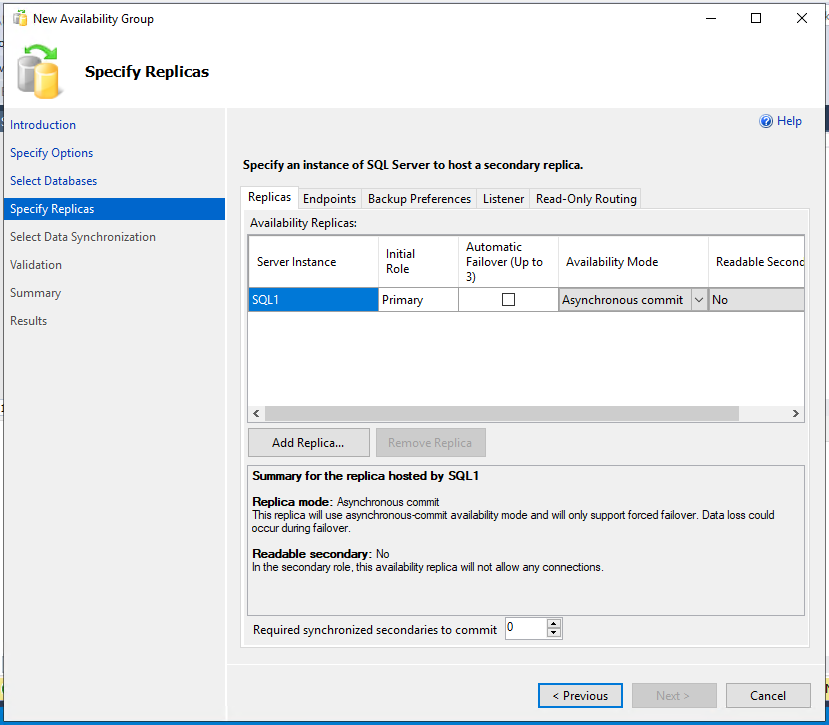
- Add SQL2 into the Replicas

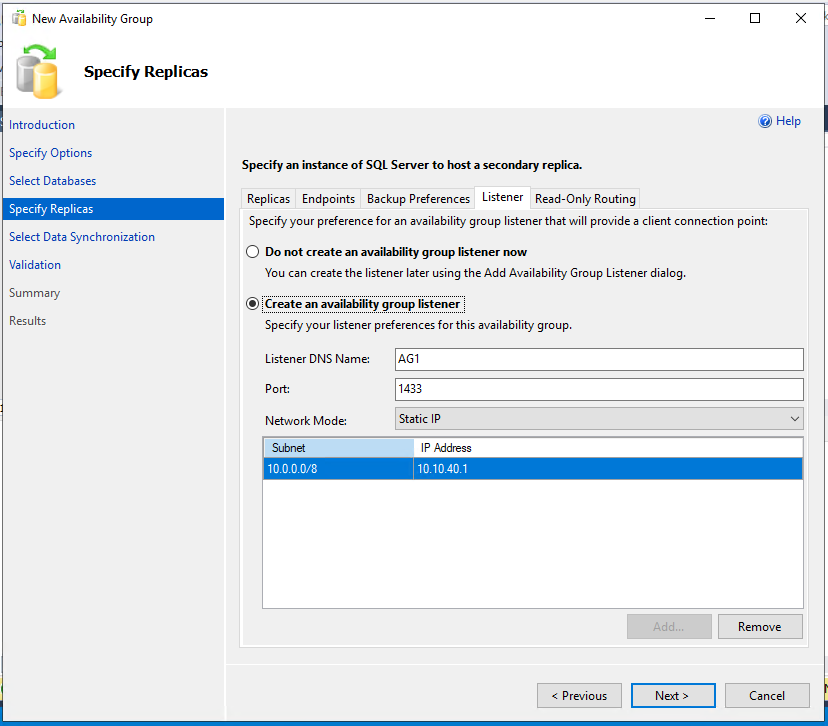
- Click the listener tab, select Create an availability group listener now and enter AG1 into the DNS name, the port can be 1433
This is going to let us connect to our availability group by simply supplying AG1 in the username field in SQL Management Studio and return the primary instance.
Click Next.
- From the synchronization preferences, select Full database & log backup, enter the path to the SQL Backups share you created earlier.
Click Next.

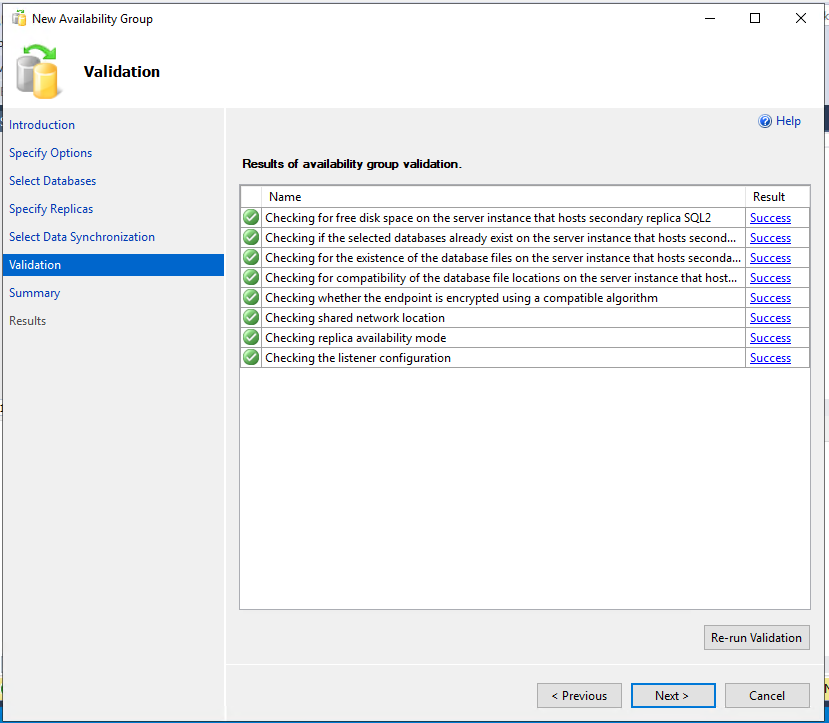
- A number of checks will be carried out, if everything went well you should get a list of green check marks.
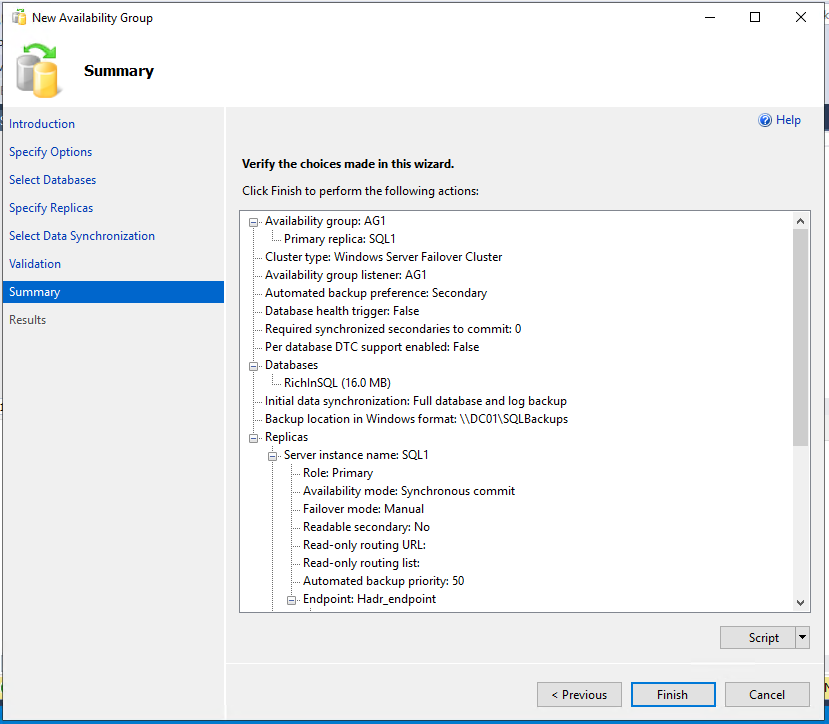
- Click Finish
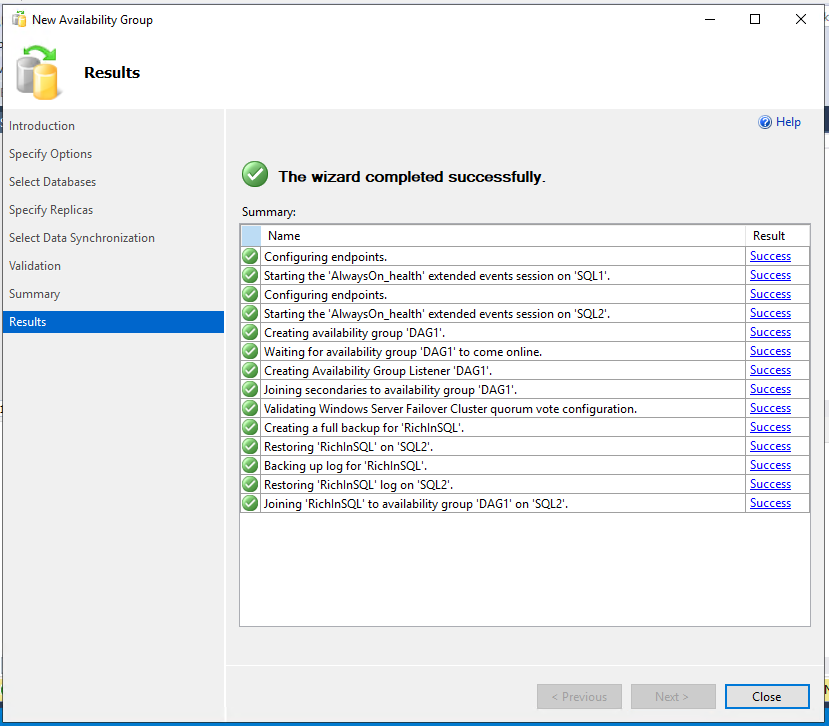
- The wizard will now attempt to create the availability group and add your database(s), if this succeeds you will get more green check marks.
- In SQL Management Studio connect to a new SQL Instance and enter the name you entered into the listener step.
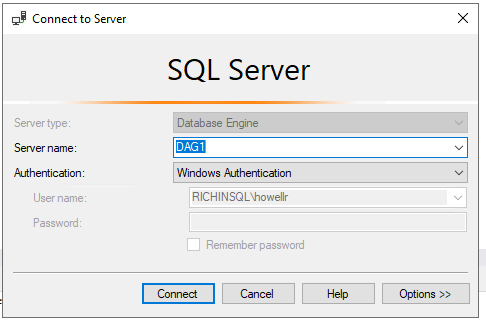
- You should now be connected to your availability group with both nodes showing as up and the database(s) synchronised.
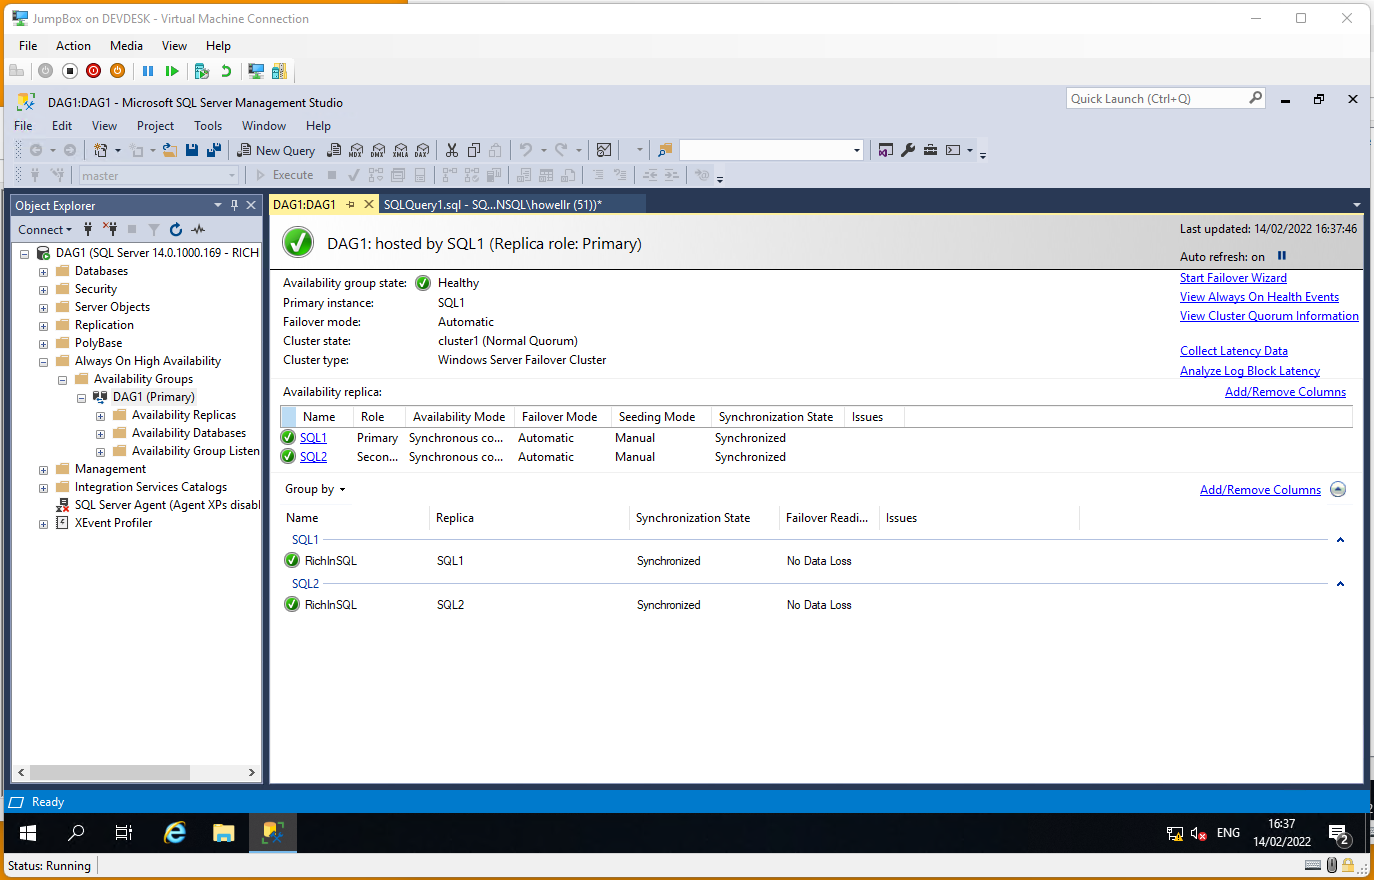
This concludes the configuration of the lab, you should now have a functional SQL Server Availability group lab running inside Hyper-V.