Rebuilding My Workstation
This year has been incredibly strange to try and bring back some kind of normality I decided to rebuild my home workstation, this post will serve as the log for that project.
What I had before
Before I started this project I was making use of a refurbished Dell Optiplex 7020 with an i7 2600 processor, 16GB of 2400 ram, a SSD for the main operating system disk and a 1TB Western Digital which we would later re-purpose.
The setup was good enough but it was showing it’s age and in many ways was not future proof. It was hard to find parts for it and the custom designed motherboard meant you couldn’t put it into another case without significant work.
The Specs
After a little bit of reasearch I settled on the following specification for the machine that I wanted to build..
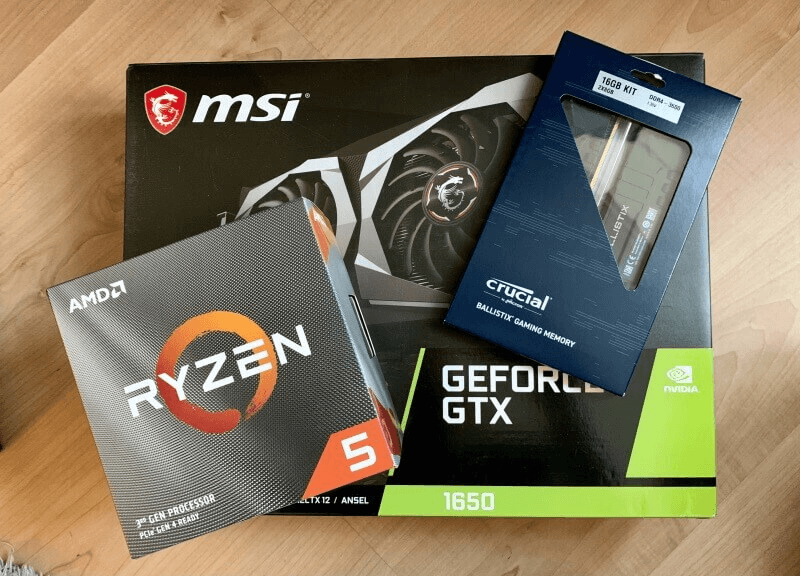
- AMD Ryzen 5 3600
- Gigabyte B550M DS3H Motherboard
- Crucial MX500 500GB M.2 SSD
- Western Digital 1TB Hard Drive (Blue)
- Seasonic S12III Bronze 550 Non-Modular Power Supply
- Crucial Ballistix 16GB 3200 Memory
- MSI Geforce GTX 1650 Graphics Card
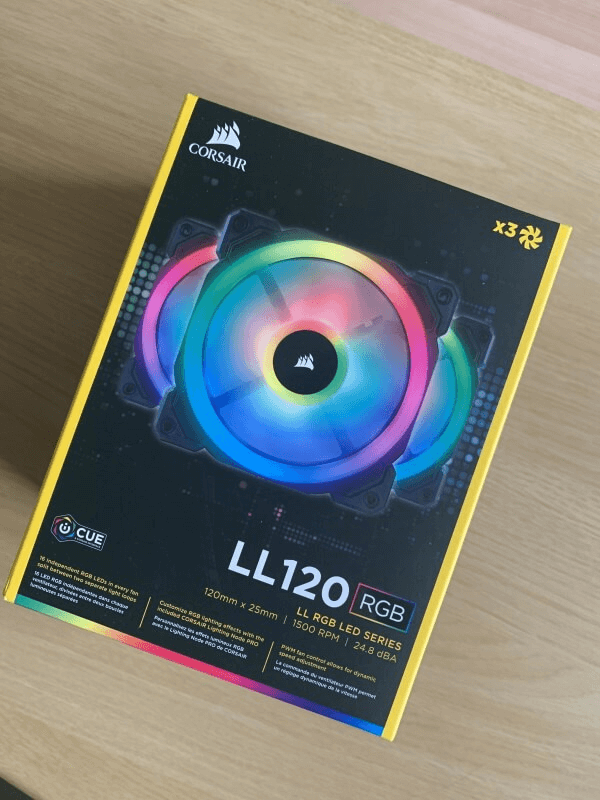
- 3x Corsair LL120(RGB) Case Fans
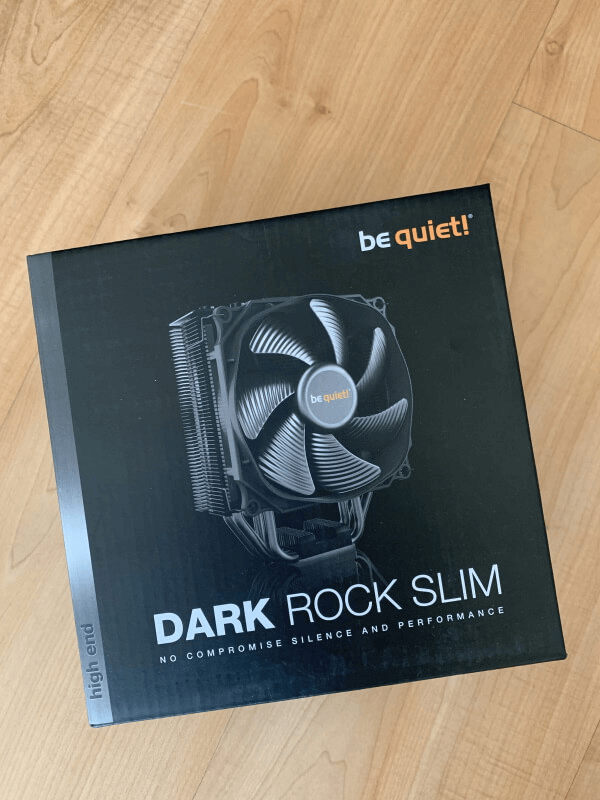
- Be Quiet Dark Rock Slim CPU Cooler
These parts would allow me to upgrade in the future, expand should I want to and the AM4 socket meant that if I wanted to upgrade the processor at a later date to something with more power I could without changing out too many of the core components.
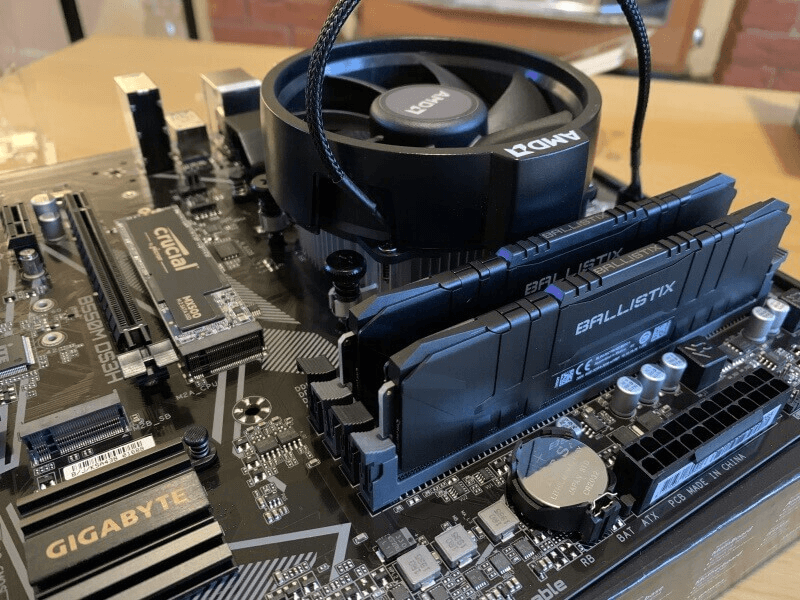
Putting it all together
This is where the fun really takes place, putting all of the parts onto the board and seeing it all come together, you will see here that the AMD Stock Cooler is installed on the CPU, after the build was completed I wasn’t happy with the IDLE temps so swapped it out.
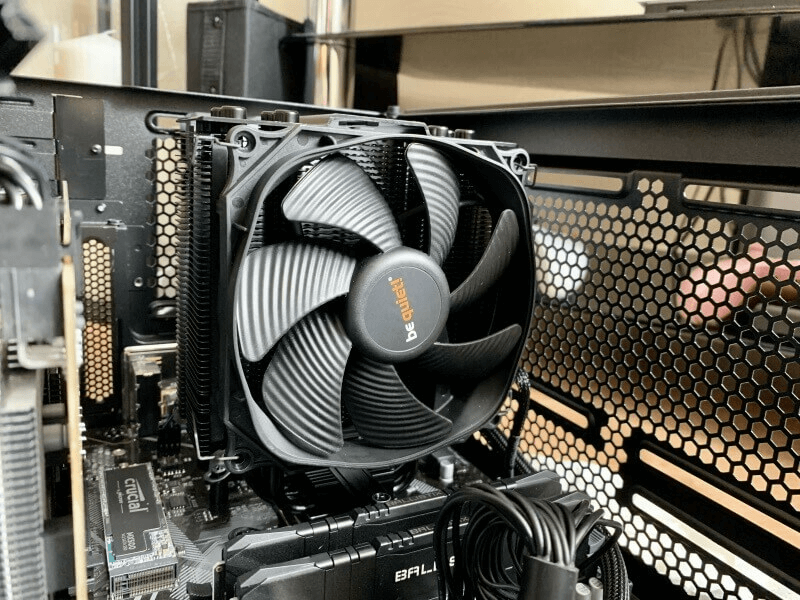
Here you can see the BeQuiet Cooler installed on the CPU, it is much larger than I had thought it was going to be but performs really well.
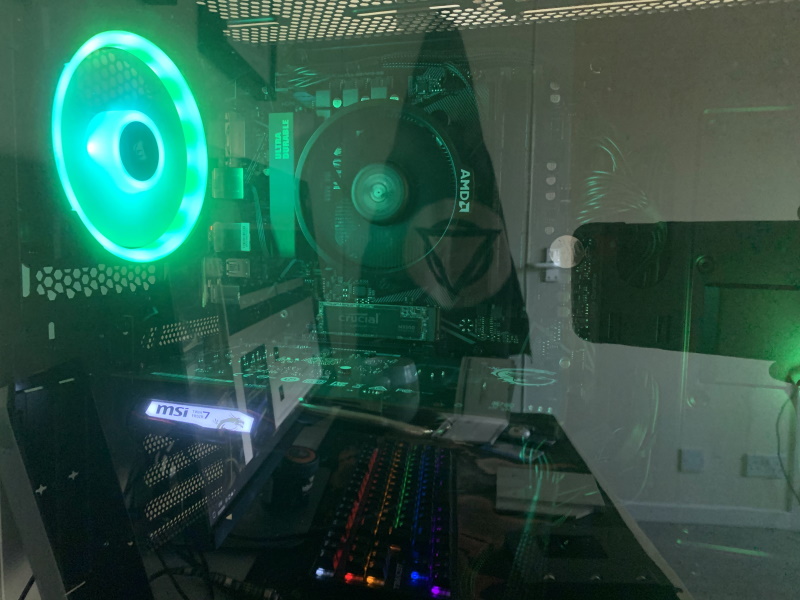
Booting the system up for the first time the Corsair fans immediatley start in a rainbow configuration which you can change once you install the iCUE software.
Here they are in a green configuration, not what I settled on…
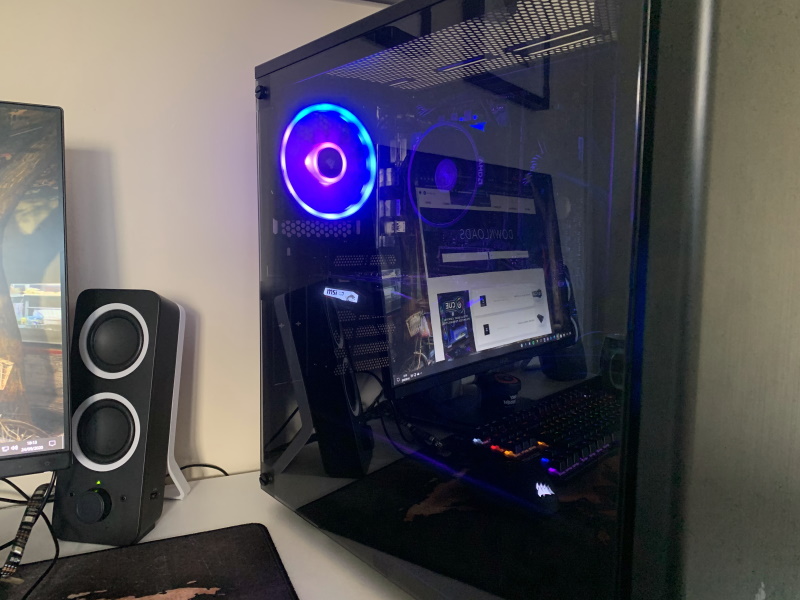
I also tried the fans in a cool blue which was nice during the day, but in the evenings it was too bright and not at all easy to work with.
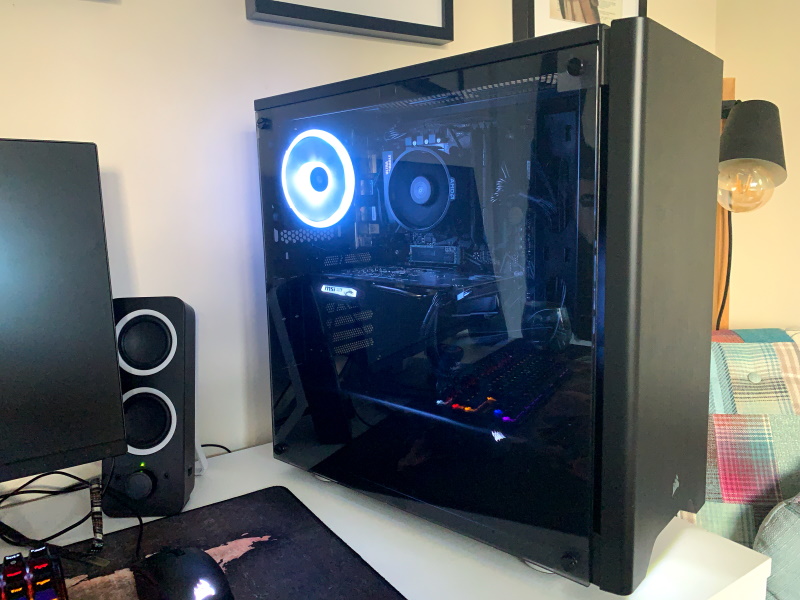
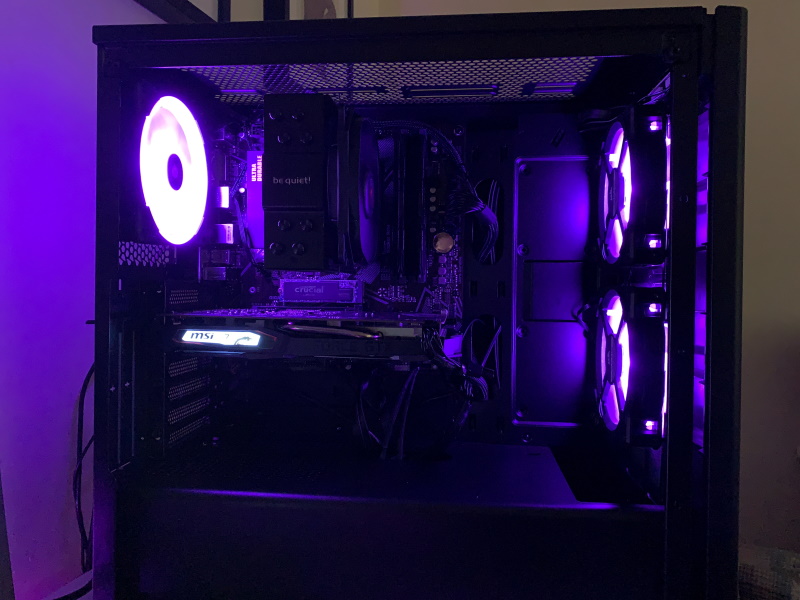
I settled on a purple, it is both nice to look at during the day and also works really well in the evening and doesn’t really hurt my eyes as much as the blue or green did.
This configuration has two intake fans at the front of the case and one exaust fan at the rear, there is space for two more 120mm fans in the top of the case but this seems to be working pretty well so far.
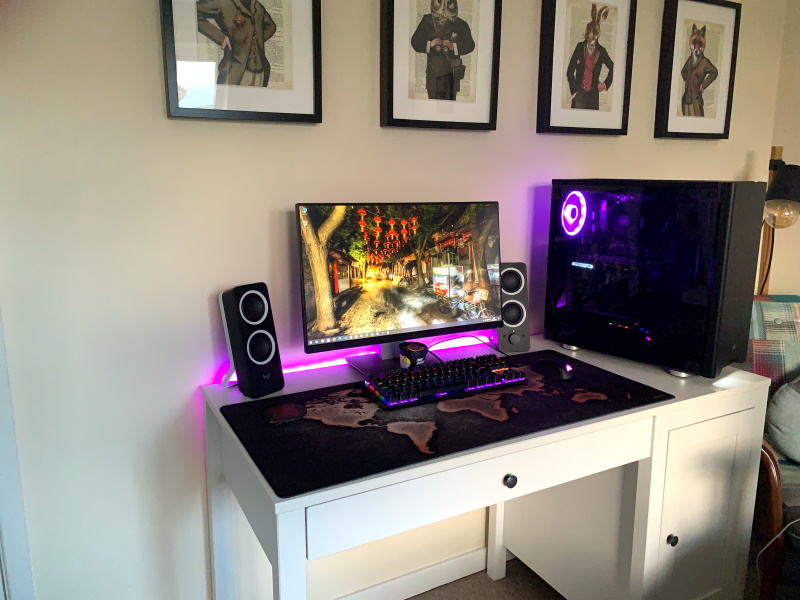
This is what the workstation looks like fully configured.
Benchmarks
I have never benchmarked a computer before, so I decided to run some freely available tools against this configuration to see what results I would get, below is the results from them tests.
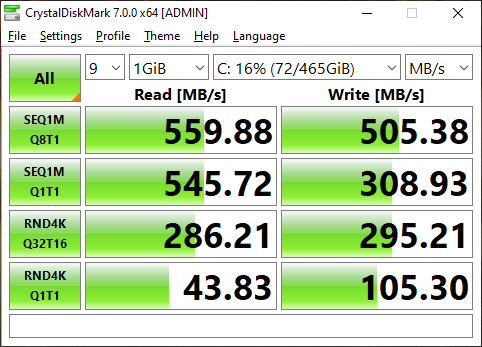
This shows the results of the READ/WRITE to my M.2 Disk
This is the results from the User Benchmark test that I ran
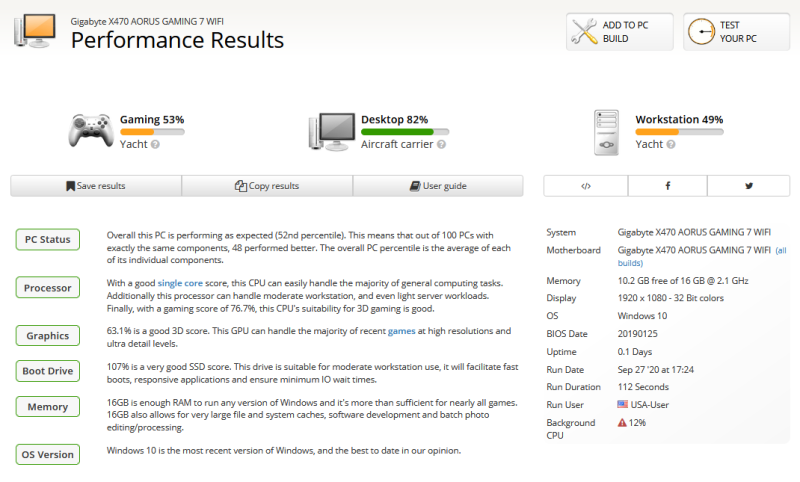
You can see them results in full here…
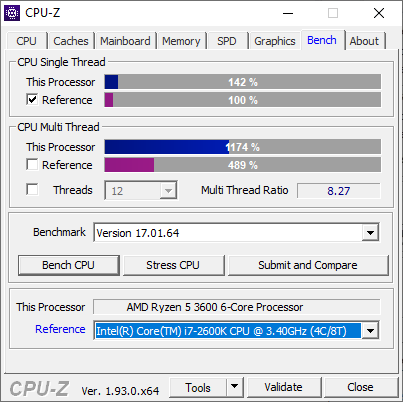
Here is the CPU-Z results of the CPU bench compared with the i7 2600K
I am really happy with how this turned out, I have thrown a few heavy tasks at it over the last few days and it hasn’t even flinched. Hopefully it will last me a few years before I have to upgrade again.